
How to Clean a Green Pool?
As you may or may not know, we love taking on challenging swimming pools so that we can create helpful pool videos and blog posts. Recently, we took on a pool in Longwood, Florida, that has been neglected for four years. It literally turned into a swamp. We’re talking about hundreds of tadpoles using this pool as their home.
We will show you how you can turn a green pool into crystal clear water in a matter of days. The pool we worked on was an extreme case, but the process is the same for a mild algae bloom.
At INYO, the process we officially adopted for cleaning a green pool is called the SLAM method. The SLAM method was coined by our friends over at Trouble Free Pool and stands for Shock, Level, And Maintain. This means you will bring your chlorine level up to Shock Level And Maintain the pool at shock level until you kill all of the algae. There are many methods for cleaning a green pool, but in our opinion, this is the simplest and will easily bring any pool from green to crystal clear. The SLAM method normally takes a few days, but you need to follow the process to a tee, don’t skip any of the steps.
The SLAM method normally takes a few days, but you need to follow the process to a tee. Don’t skip any of the steps.
Why Did My Pool Turn Green?
First, let’s talk about why your pool turned green. A pool turns green for one reason – algae. The SLAM process kills the algae in your pool and also takes preventive measures so that algae cannot live in your pool in the future.
How Do I Kill Algae?
 The next logical question is how do you kill algae. Algae are killed by chlorine. So, why don’t you just dump a boatload of chlorine in the pool and call it a day? This is essentially what we are doing, but there is one more important piece of the puzzle before you can start adding chlorine to your pool.
It is important to understand what items consume chlorine. Chlorine is consumed by two things – organic material in the pool, like leaves or algae, and UV rays from the sun. Before you start adding chlorine, get as much of the big debris out of the pool as you can. This is considered organic material and will deplete your chlorine quickly.
Secondly, you need to get your cyanuric acid (also called stabilizer) into the optimal range. Cyanuric acid (CYA) acts as a sunscreen for your chlorine and protects your chlorine from being rapidly depleted by the sun.
Overview of Cleaning a Green Pool
- Remove debris from pool
- Adjust CYA to proper level
- Bring Free Chlorine to shock level
- Remove dead algae
- Perform Overnight Chlorine Loss Test (OCLT)
- Let Free Chlorine levels return to normal
Step-by-step Process for Cleaning a Green Pool
Now that we have a brief overview of why your pool turned green and a basic plan for bringing it back to crystal clear, let’s dive into the detailed step-by-step process of bringing your pool back to life.
Things You Will Need
- A good test kit (one that tests for FAS DPD)
- It is important to have a FAS DPD test kit as they are the only test kits that measure Free Chlorine at high levels. We suggest the TF-100 Test Kit from TF Test Kits
- A net, pole, brush and vacuum
- Pool chemicals (this will vary based on your test results)
Daily Tasks
- Run your pump & filter 24/7
- Brush pool walls
- Clean your filter
- Test Free Chlorine
Step 1 – Clearing Debris
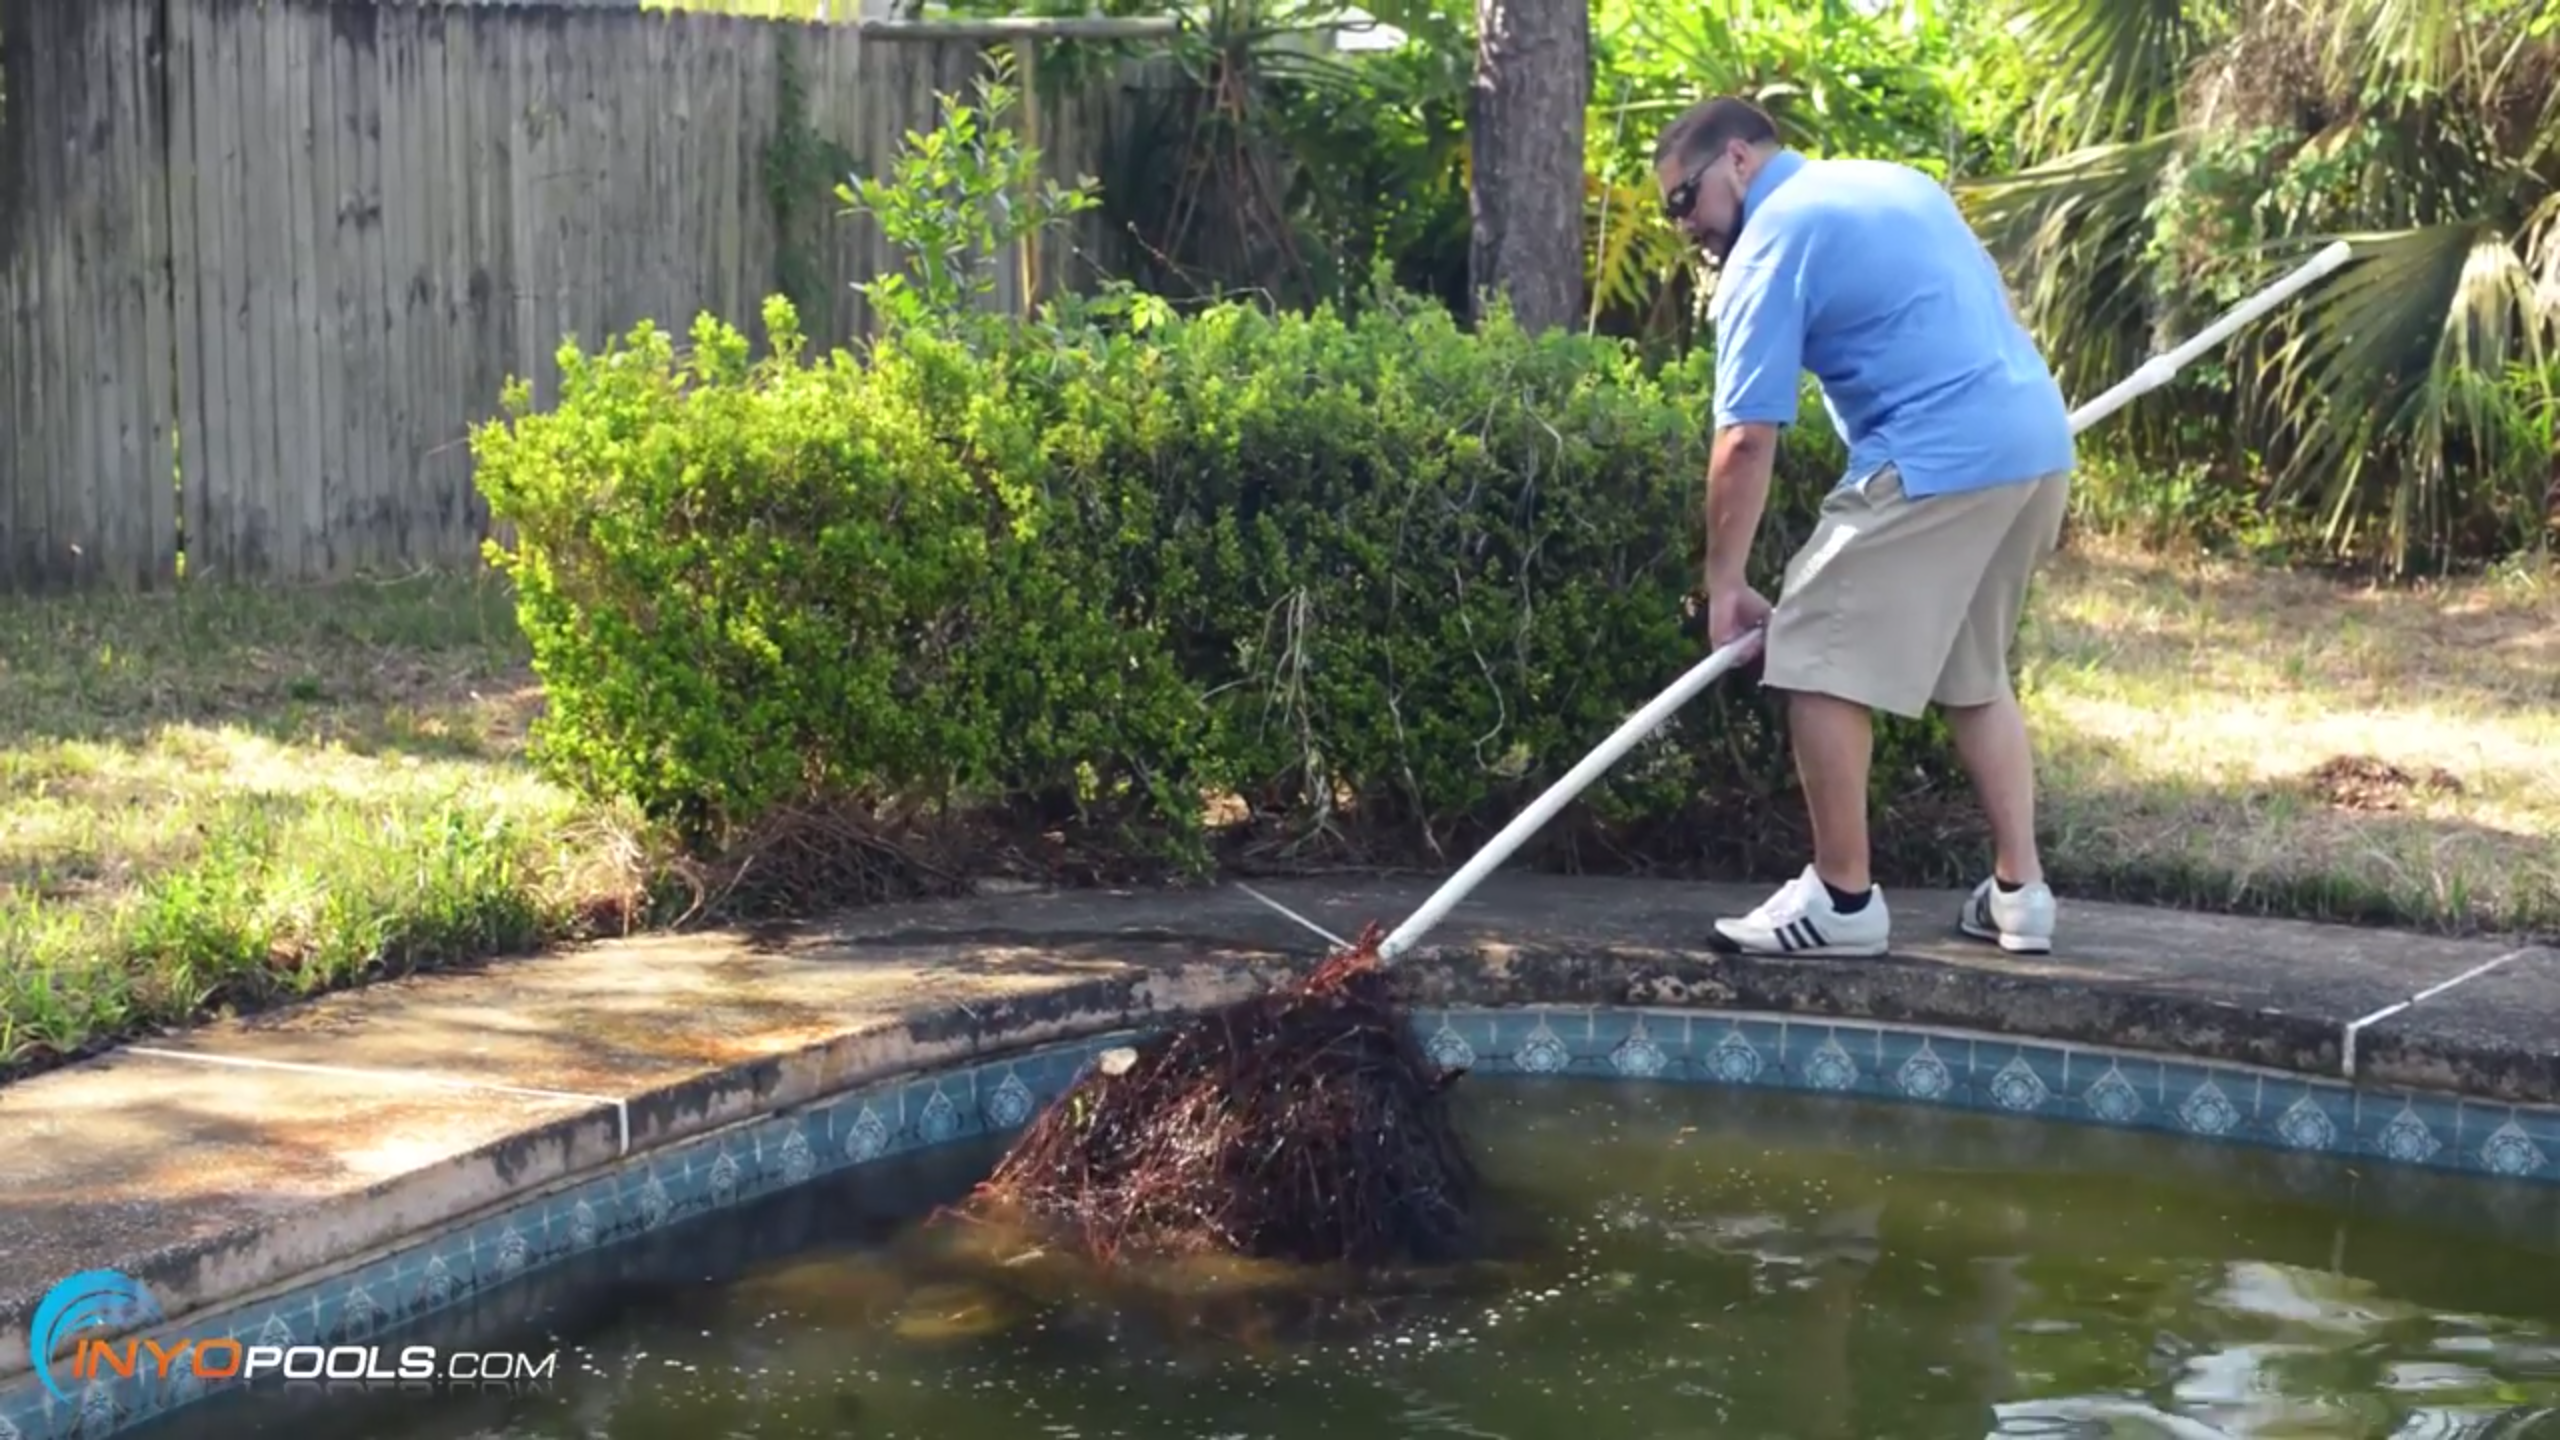 Before you get to nuke your algae with chlorine, you need to get rid of the large debris from your pool. Remember, organic material is one of the consumers of chlorine. So, the more large debris you can remove at this point in the process, the less chlorine you will need to use.
Depending on how bad your pool is, the debris removal can be a big project or a small project. In the case of the pool that we were working on, this was one of the most time-consuming steps of the process as there was a ton of debris in the pool.
-
Surface skim
Start off by surface skimming any debris from the surface of the pool.<
-
Deep net
Deep net all the big debris and gook from the bottom of the pool. In our pool, this took us half a day as there were so many pine needles, frogs, and tadpoles.
-
Vacuum
This is where you will vacuum as much debris from the bottom of the pool as possible. It is best to vacuum directly to waste meaning that the dirt and debris from the bottom of the pool are being vacuumed directly out to the yard and not returning back to the pool. If you have a sand or DE filter, there will be a setting on the backwash valve labeled waste. Turn the valve to this setting. For a cartridge filter, there will often be a ball valve that you can open to vacuum to waste. When vacuuming to waste, a backwash hose can be handy which allows you to drain the water further out into your yard and not right next to your equipment.
Step 2 – Test & Balance Water
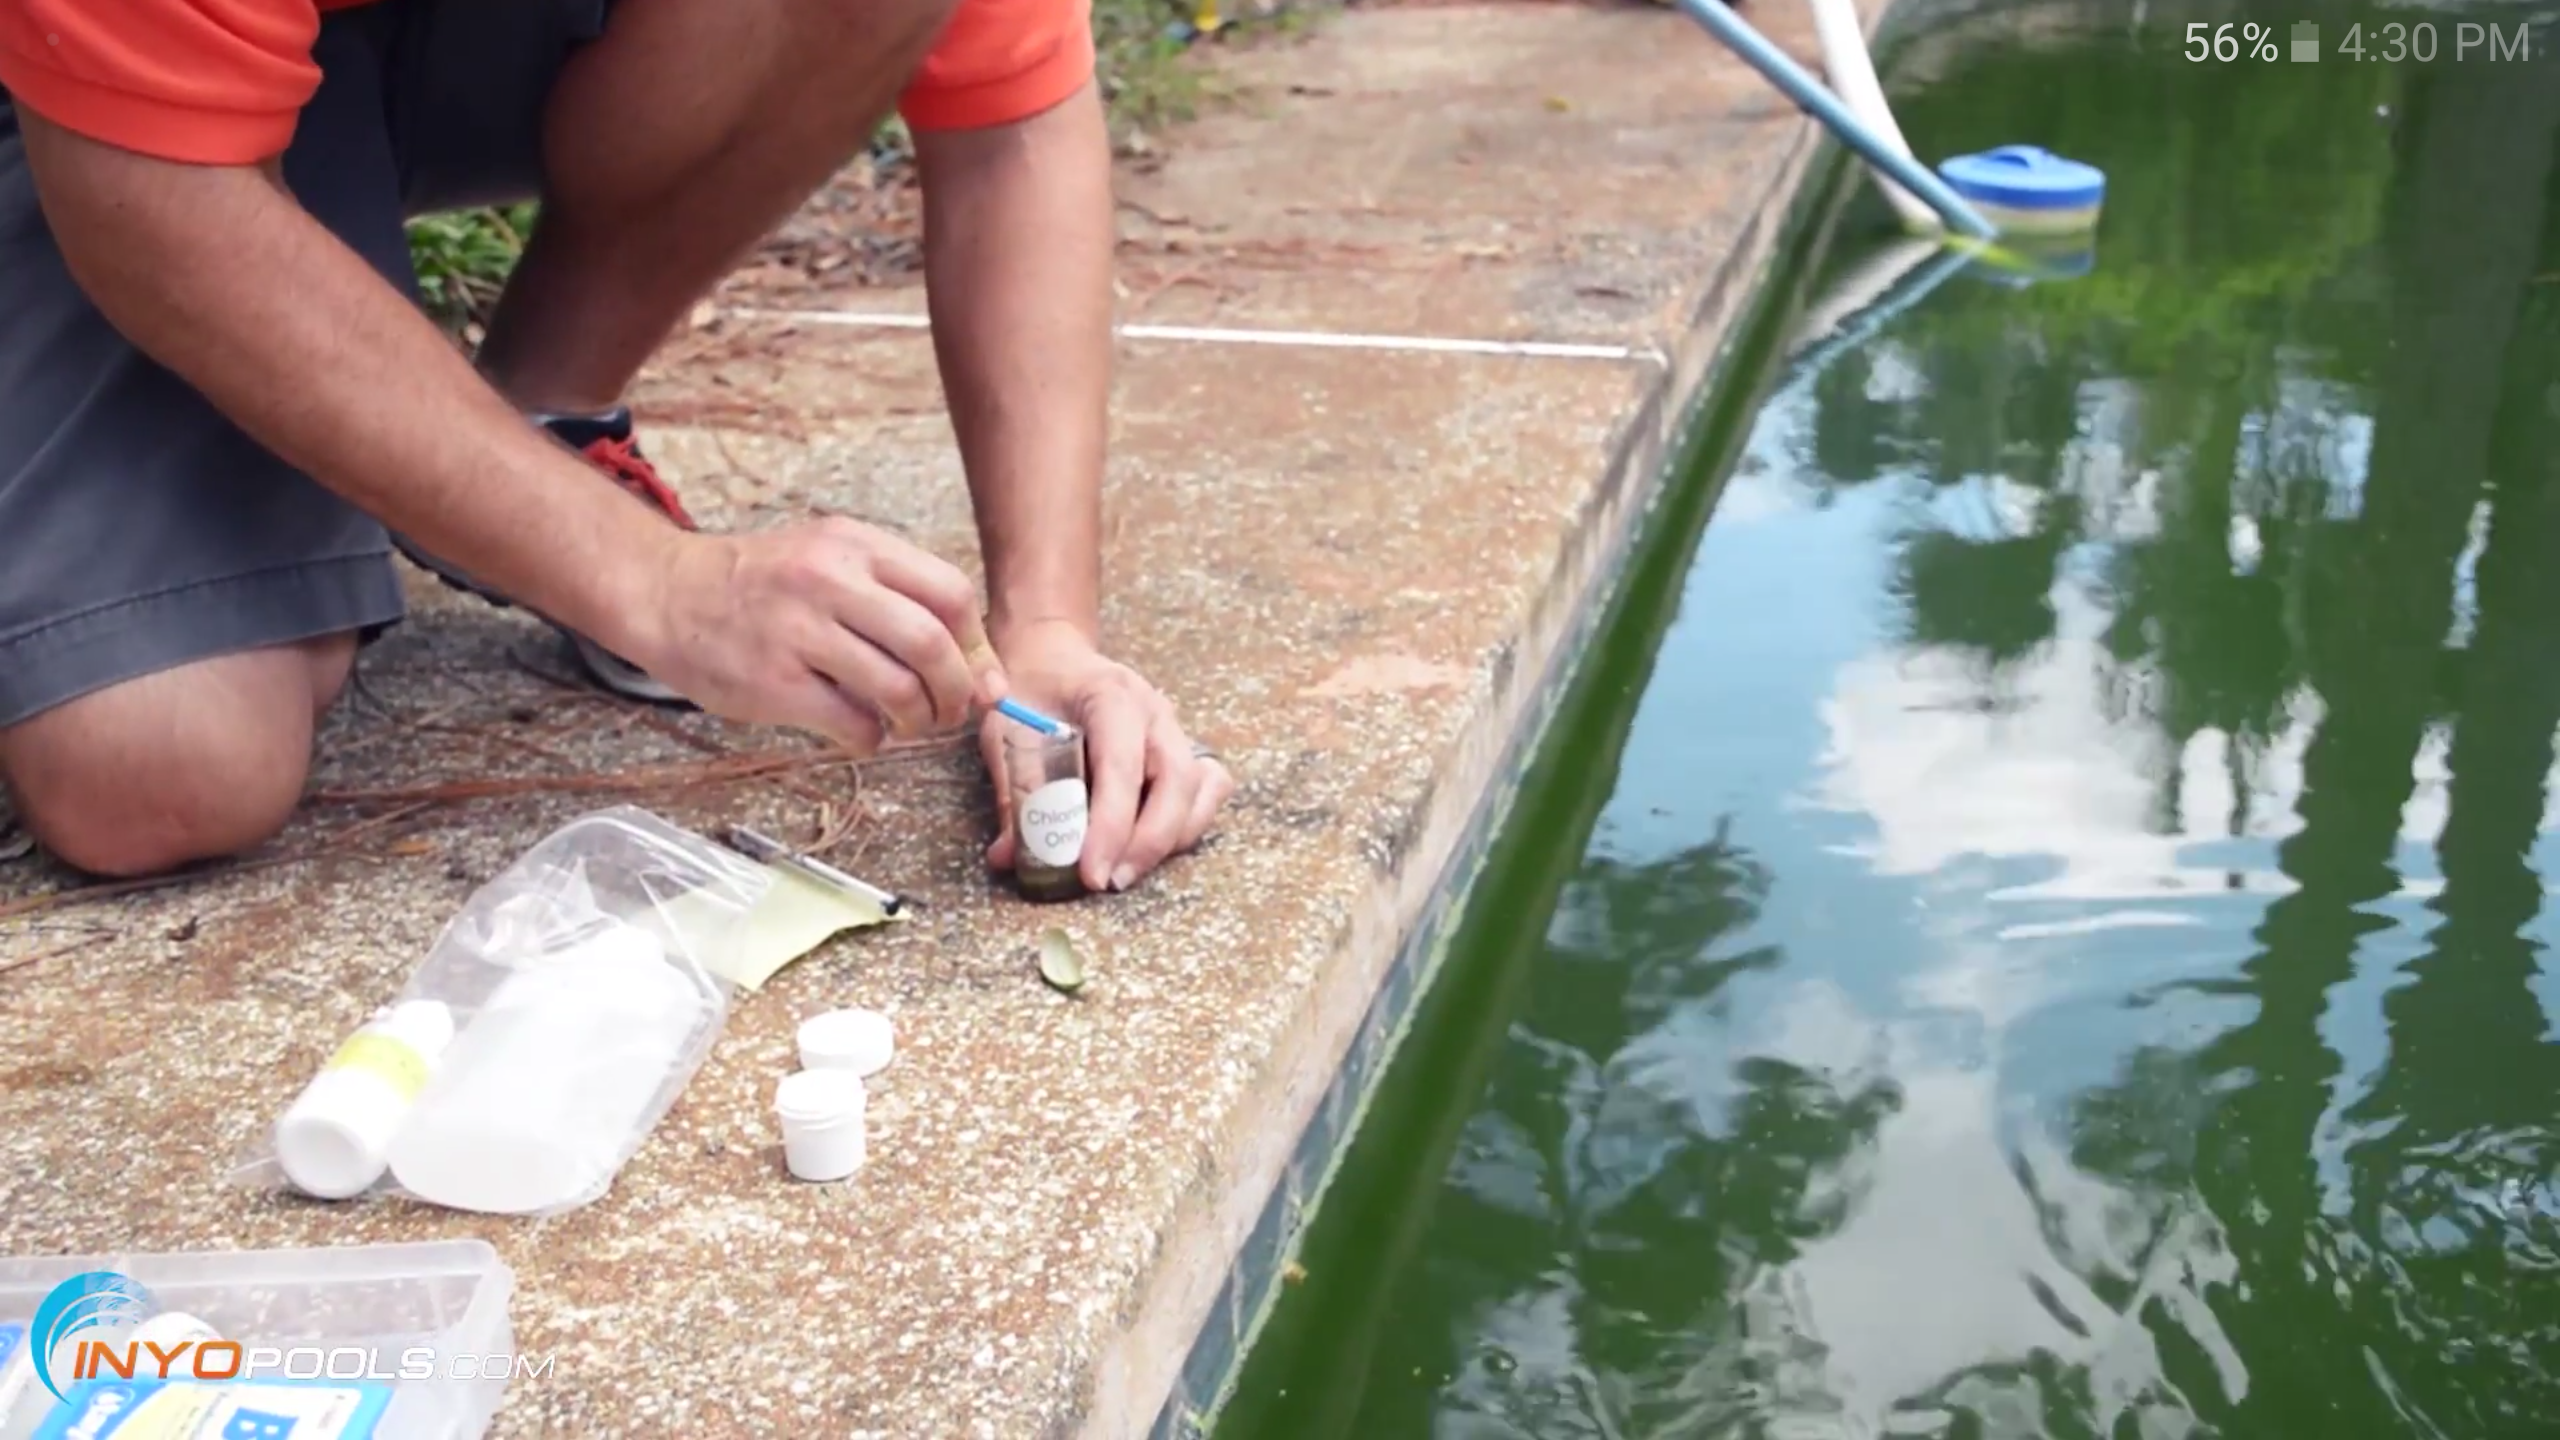
We can’t stress how important it is to get a good test kit like the TF-100 Test Kit as this kit has the FAS DPD test which allows you to test chlorine at the high levels reached during SLAM.
Once you have as much of the debris as possible removed from the pool, you will test and treat your pool water. Below is a handy chart showing you the ideal levels for your most critical chemicals, followed by the tests you will perform.
Ideal Chemical Ranges
| Using Liquid Chlorine | Using a Salt System | |
| pH | 7.5 – 7.8 | 7.6 – 7.8 |
| Free Chlorine (FC) Shock Level | 12 – 24 (See Chlorine Chart for exact levels) | 28 – 31 (See Chlorine Chart for exact levels) |
| Free Chlorine (FC) Target Level | 3 – 7 (See Chlorine Chart for exact levels) | 3 – 7 (See Chlorine Chart for exact levels) |
| CYA | 30 – 50 | 60 – 80 |
Note: The pool that we worked on was a liquid chlorine pool so we used the levels for a liquid chlorine pool. If you have a saltwater system, use the water chemistry levels indicated for a salt system.
Test #1 – pH
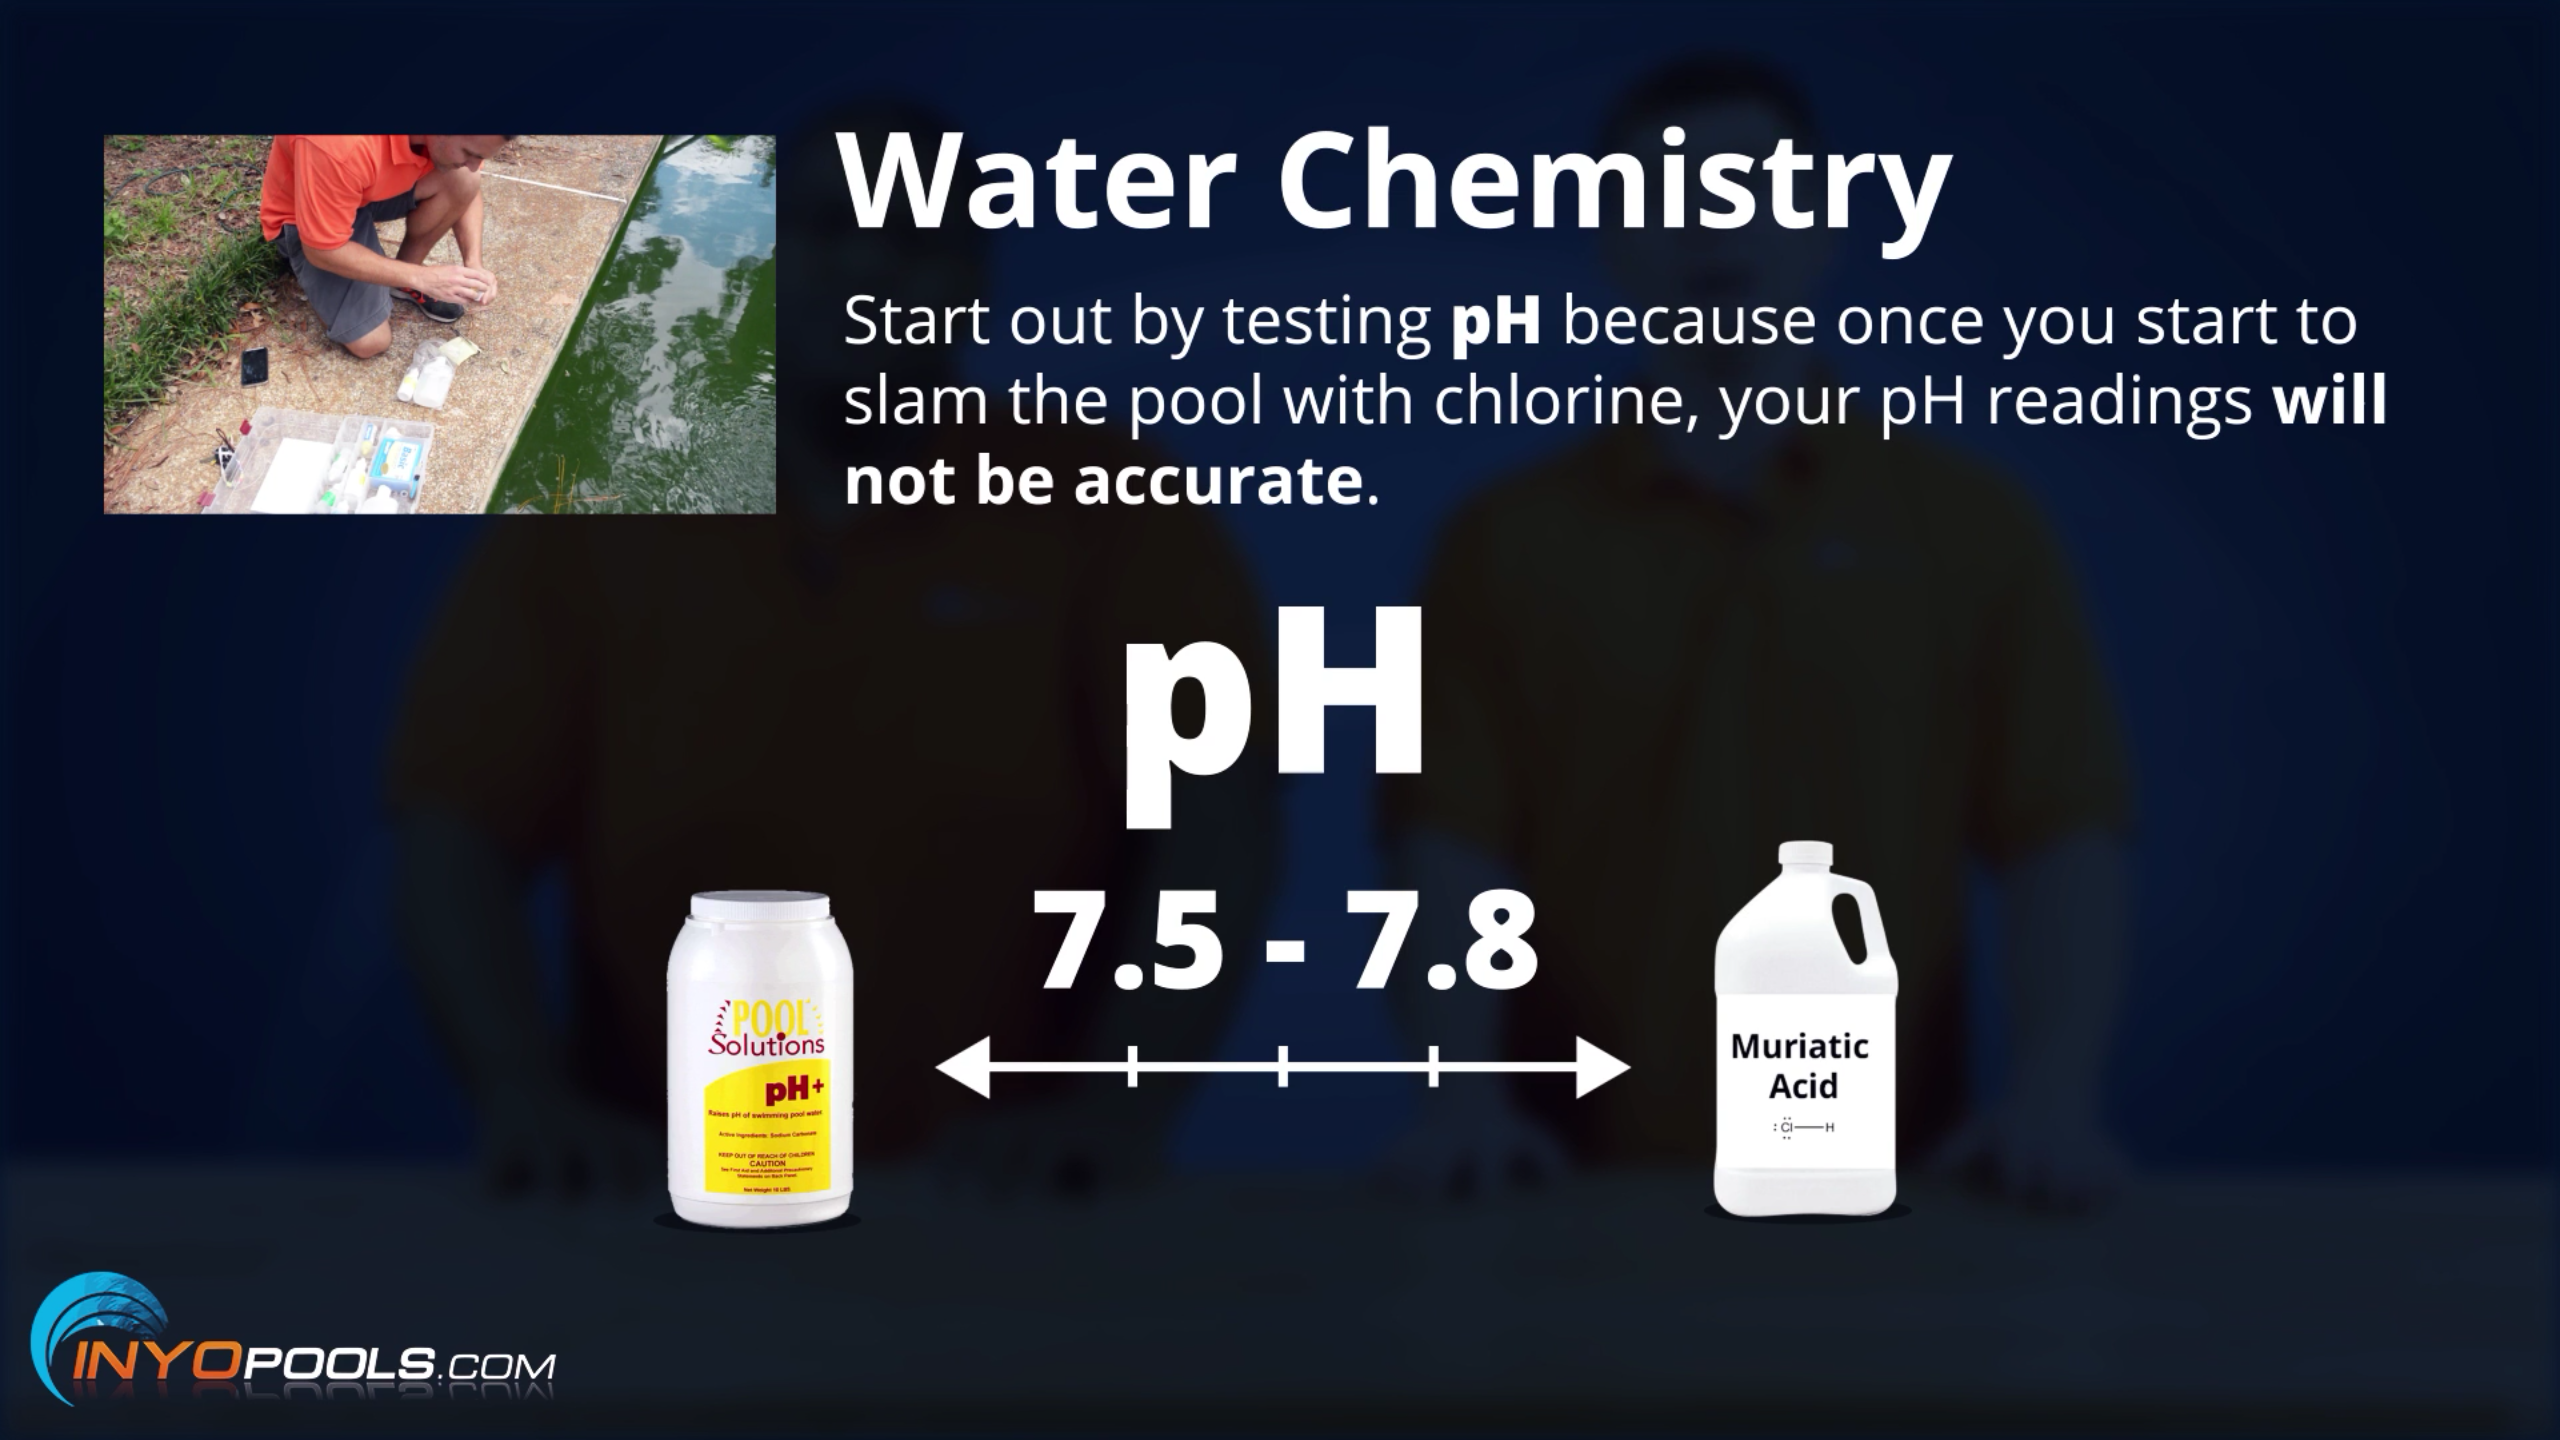
- The first thing you will want to test is the pH as once you start to “SLAM” the pool with chlorine your pH levels will not be accurate. Your pH should be between 7.5 and 7.8.
- If your pH level is above 7.8 then you will use muriatic acid or pH decreaser to lower your pH. If your pH is below 7.5 then use pH increaser (also called soda ash) to increase your pH.
Test #2 – Cyanuric Acid (CYA)
Here is where you get into the heart of the SLAM process so pay close attention to the next few steps.
- Test your CYA
- Record your CYA
- In our pool we had 10 PPM CYA
Adjust CYA, if needed
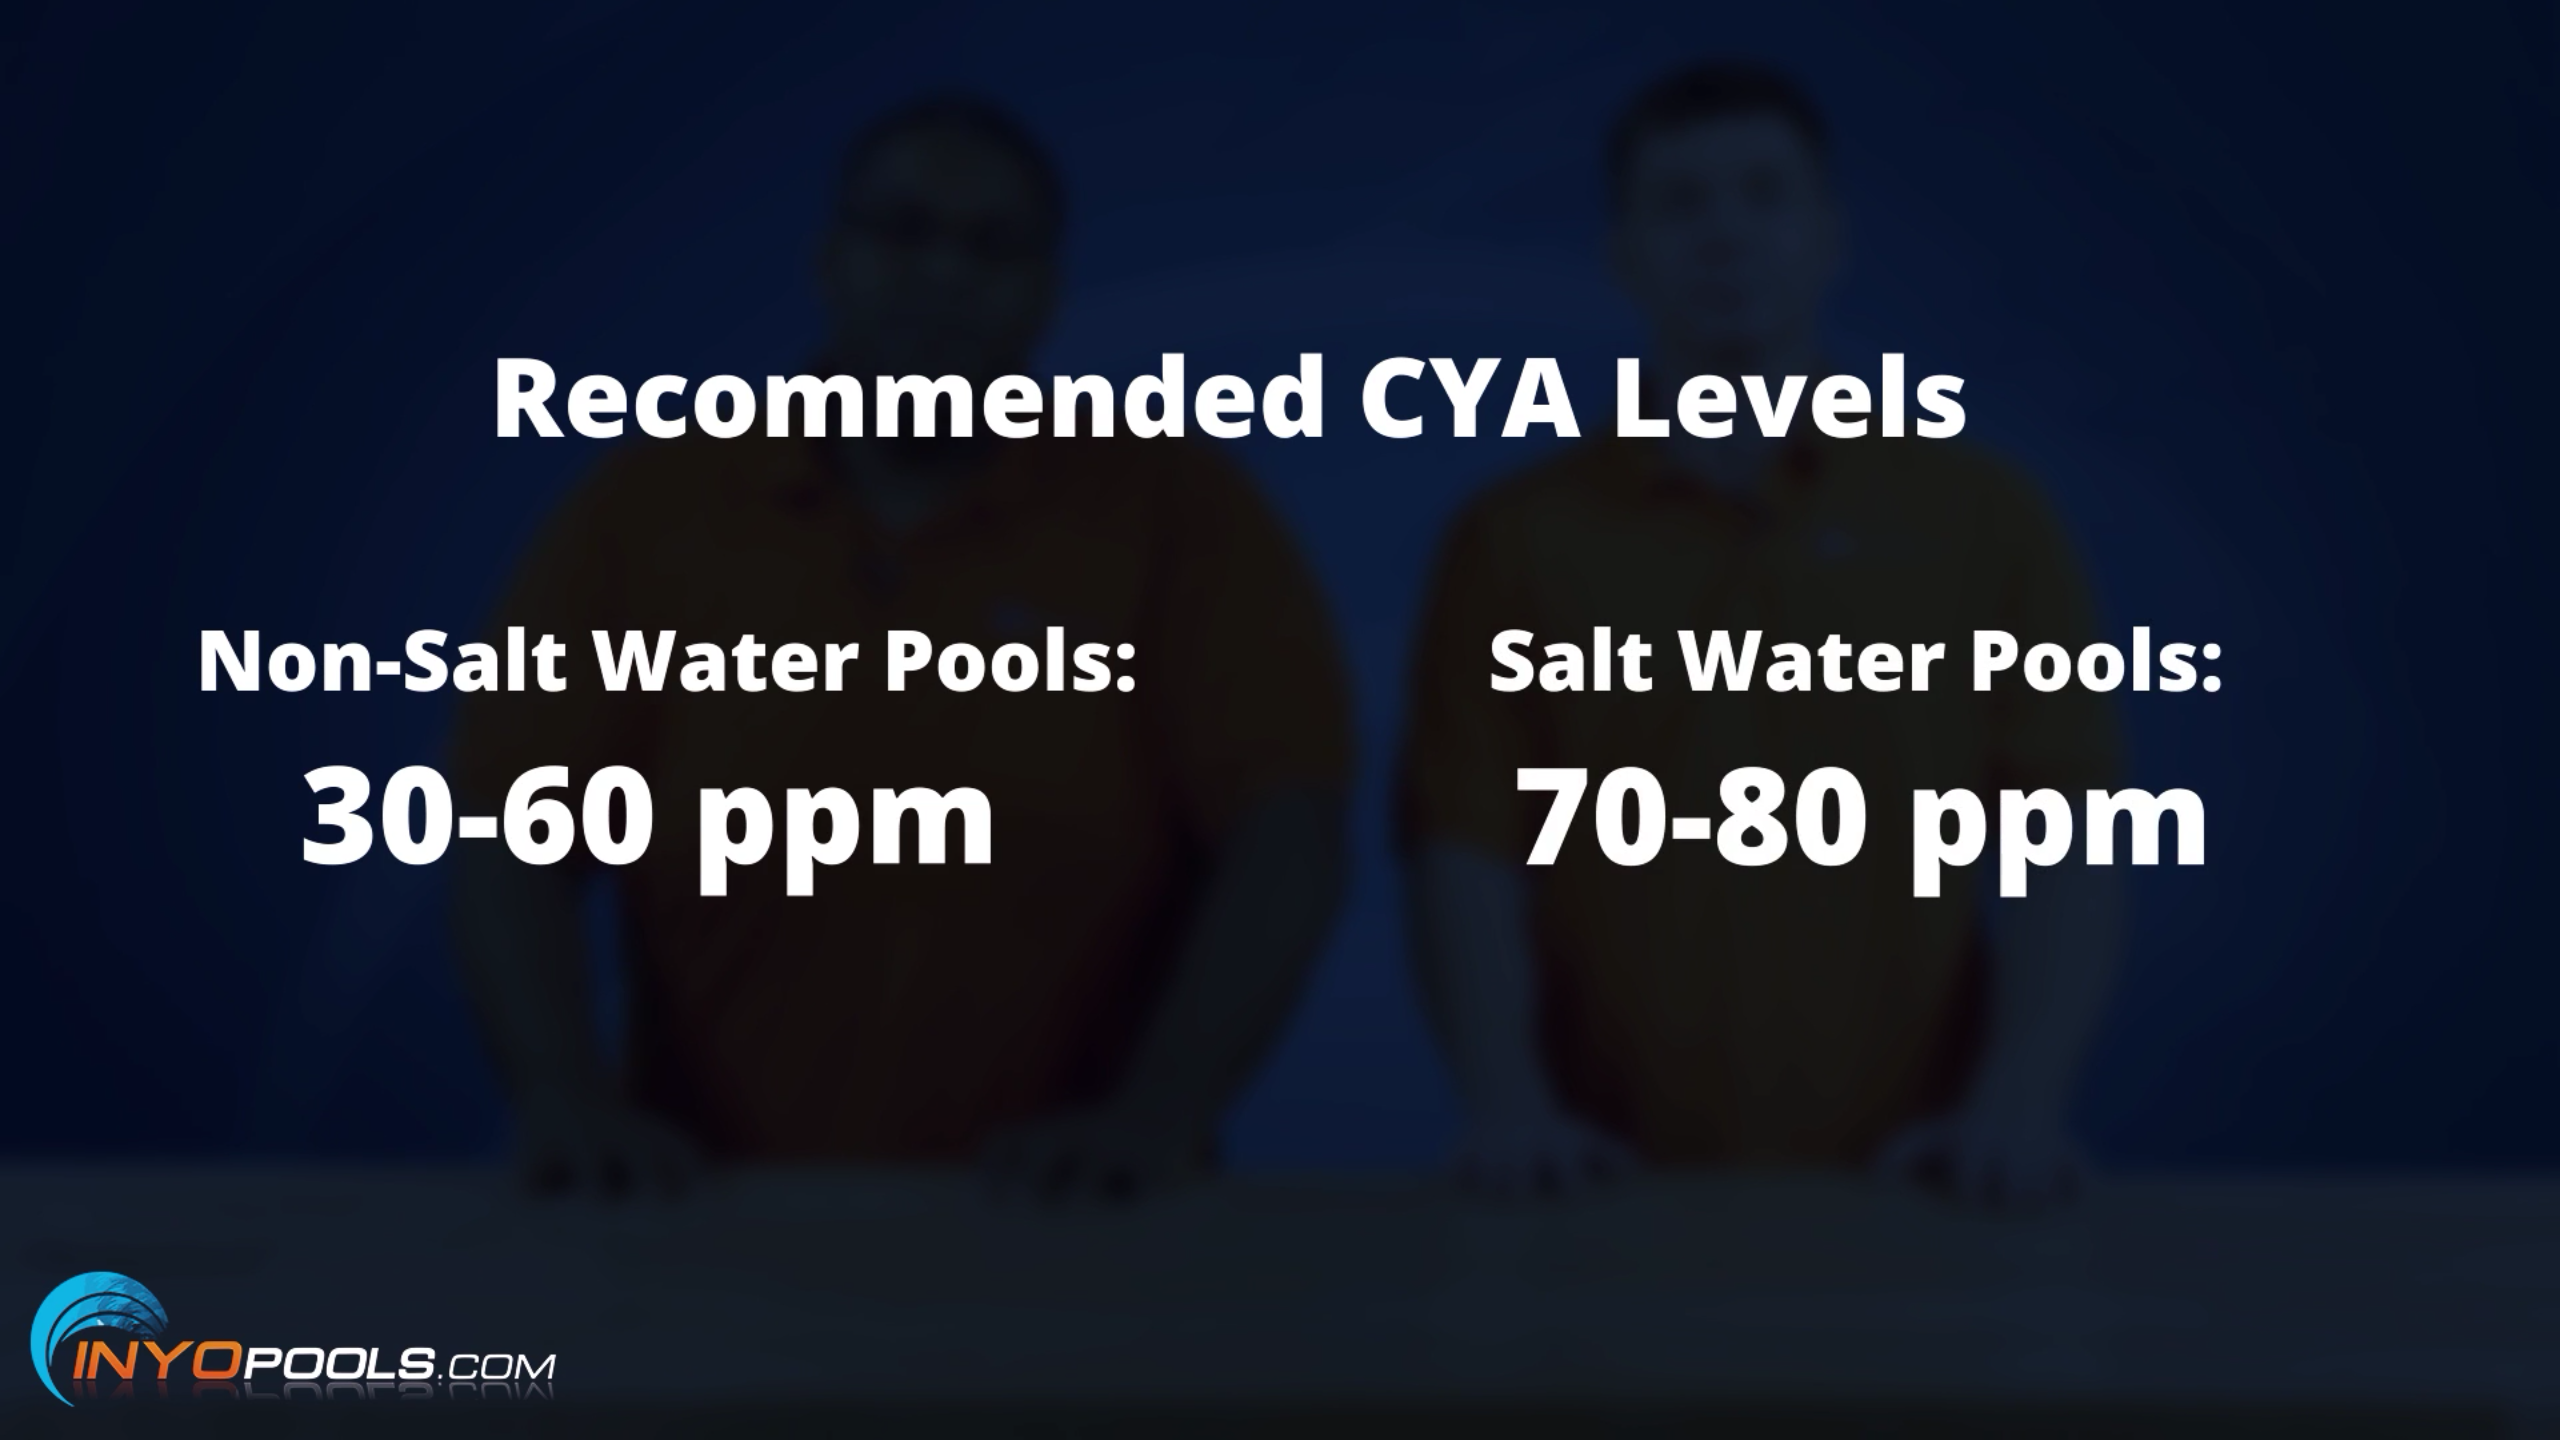
The relationship between Free Chlorine (FC) and CYA is possibly the cornerstone of the SLAM process. CYA is sunscreen for your chlorine. If your CYA is too low (below 30) then your Free Chlorine (FC) will be rapidly consumed by the sun and if your CYA is too high (above 50 in a non-salt pool or above 80 in a salt pool) then you greatly reduce the chlorine’s effectiveness to kill algae. This step is very important so don’t skip it, because you need to make sure your CYA is within the acceptable range.
- If your CYA is too low then use the Pool Math Calculator to determine how much CYA you need to add to your pool.
- If your CYA level is too high then the only way to lower your CYA is to remove water from your pool and replace it with fresh water. Use the Pool Math Calculator to determine how much water needs to be removed from your pool.
- Adjust CYA to acceptable levels.
Note: Granular CYA – Stabilizer can take several days to dissolve in your pool. Liquid Conditioner will instantly increase your CYA, but is a bit more expensive.
Test #3 – Free Chlorine (FC)
Now that you have your CYA at the proper level you will move on to testing your Free Chlorine (FC). Remember you need to use a FAS DPD test kit as it is the only test kit that measures Free Chlorine (FC) at very high levels.
- Using your FAS DPD Test Kit, test your free chlorine.
-
- Record your Free Chlorine (FC)
- In our pool we had 0 PPM Free Chlorine (FC)
Step 3 – Determine Your Shock Level
Now that you have your Free Chlorine (FC) and CYA levels recorded you can determine your shock level.
- Refer to the CYA – Chlorine Chart to determine your shock level.
- For our pool we had a CYA of 30 and according to the CYA – Chlorine Chart at 30 PPM CYA we need to bring our Free Chlorine up to 12 PPM to reach shock level.
Step 4 – Determine How Much Chlorine Is Needed to Reach Shock Level
Use the Pool Math Calculator to determine how much chlorine you need to add to reach shock level. There are a few different types of chlorine you can use to reach shock level and they are Granular Chlorine (Dichlor / Trichlor), but this adds CYA to your pool. Then there is Cal-Hypo, but this will increase your Calcium Hardness. Your third option is liquid chlorine which only affects your Free Chlorine. Since liquid chlorine does not affect any of your other chemicals, we suggest using liquid chlorine. You will want to check the strength of your liquid chlorine as liquid chlorine ranges from 3% to 12% concentration, and this will affect how many gallons you will need to add to your pool.
- Refer to the Pool Math Calculator to determine how much chlorine is needed to reach your shock level (refer to Step #3 to determine your pool’s shock level).
- According to the Pool Math Calculator we needed to add 3,5 gallons of 10% strength liquid chlorine to bring our 30 000 gallon pool up to its shock level of 12.
- You may find the Pool Volume Calculator helpful to determine the gallons of your pool.
Step 5 – Add Chlorine

- Add the suggested amount of chlorine determined in Step #4. In our case, this was 3,5 gallons of 10% strength liquid chlorine.
- For liquid chlorine, we suggest that you walk around the perimeter of the pool while you evenly pour the chlorine into the pool or you can pour the chlorine in front of one of your pool jets.

Step 6- Re-test Free Chlorine (FC) & Add Liquid Chlorine (perform every couple of hours at start)
After adding your chlorine, wait an hour and test your chlorine. If your Free Chlorine (FC) is at or above shock level then do nothing. If your Free Chlorine (FC) has dropped below your shock level then add chlorine to bring your level back up to shock level. Continue to test and adjust your chlorine to shock level as frequently as practical, but not more than once per hour, but at least twice a day.
The addition of chlorine will be frequent during “SLAM”, especially at the beginning. This is the stage where a lot of people get tripped up as they bring their pool up to shock level once and then don’t continue to test and add chlorine. Algae and other organic debris will consume chlorine very rapidly at first. As things progress, you will lose less chlorine each cycle and you will add chlorine less frequently. The reason for this is that you are killing the organic material meaning there is less organic material in your pool to consume your chlorine.
- In our pool when we re-tested our chlorine after one hour, we had 0 PPM of chlorine. Remember algae consume chlorine. We had so much algae in our pool that the 3,5 gallons of chlorine were consumed by the algae within less than an hour. So we added another 3,5 gallons of chlorine and tested in two hours and our chlorine was at 3 PPM. We then used the Pool Math Calculator and determined we needed to add another three gallons to reach shock level.
- So we added another three gallons and re-tested the following morning and we were at 13 PPM Free Chlorine (FC) which was above our shock level so we did not add any more chlorine at this point.
- Three hours later we tested our Free Chlorine (FC) and we were at nine which is below our shock level of 12 so we added another gallon of chlorine which brought us back into shock level. It is normal to see your chlorine levels drop during the day as the sunlight will be consuming some of your chlorine.
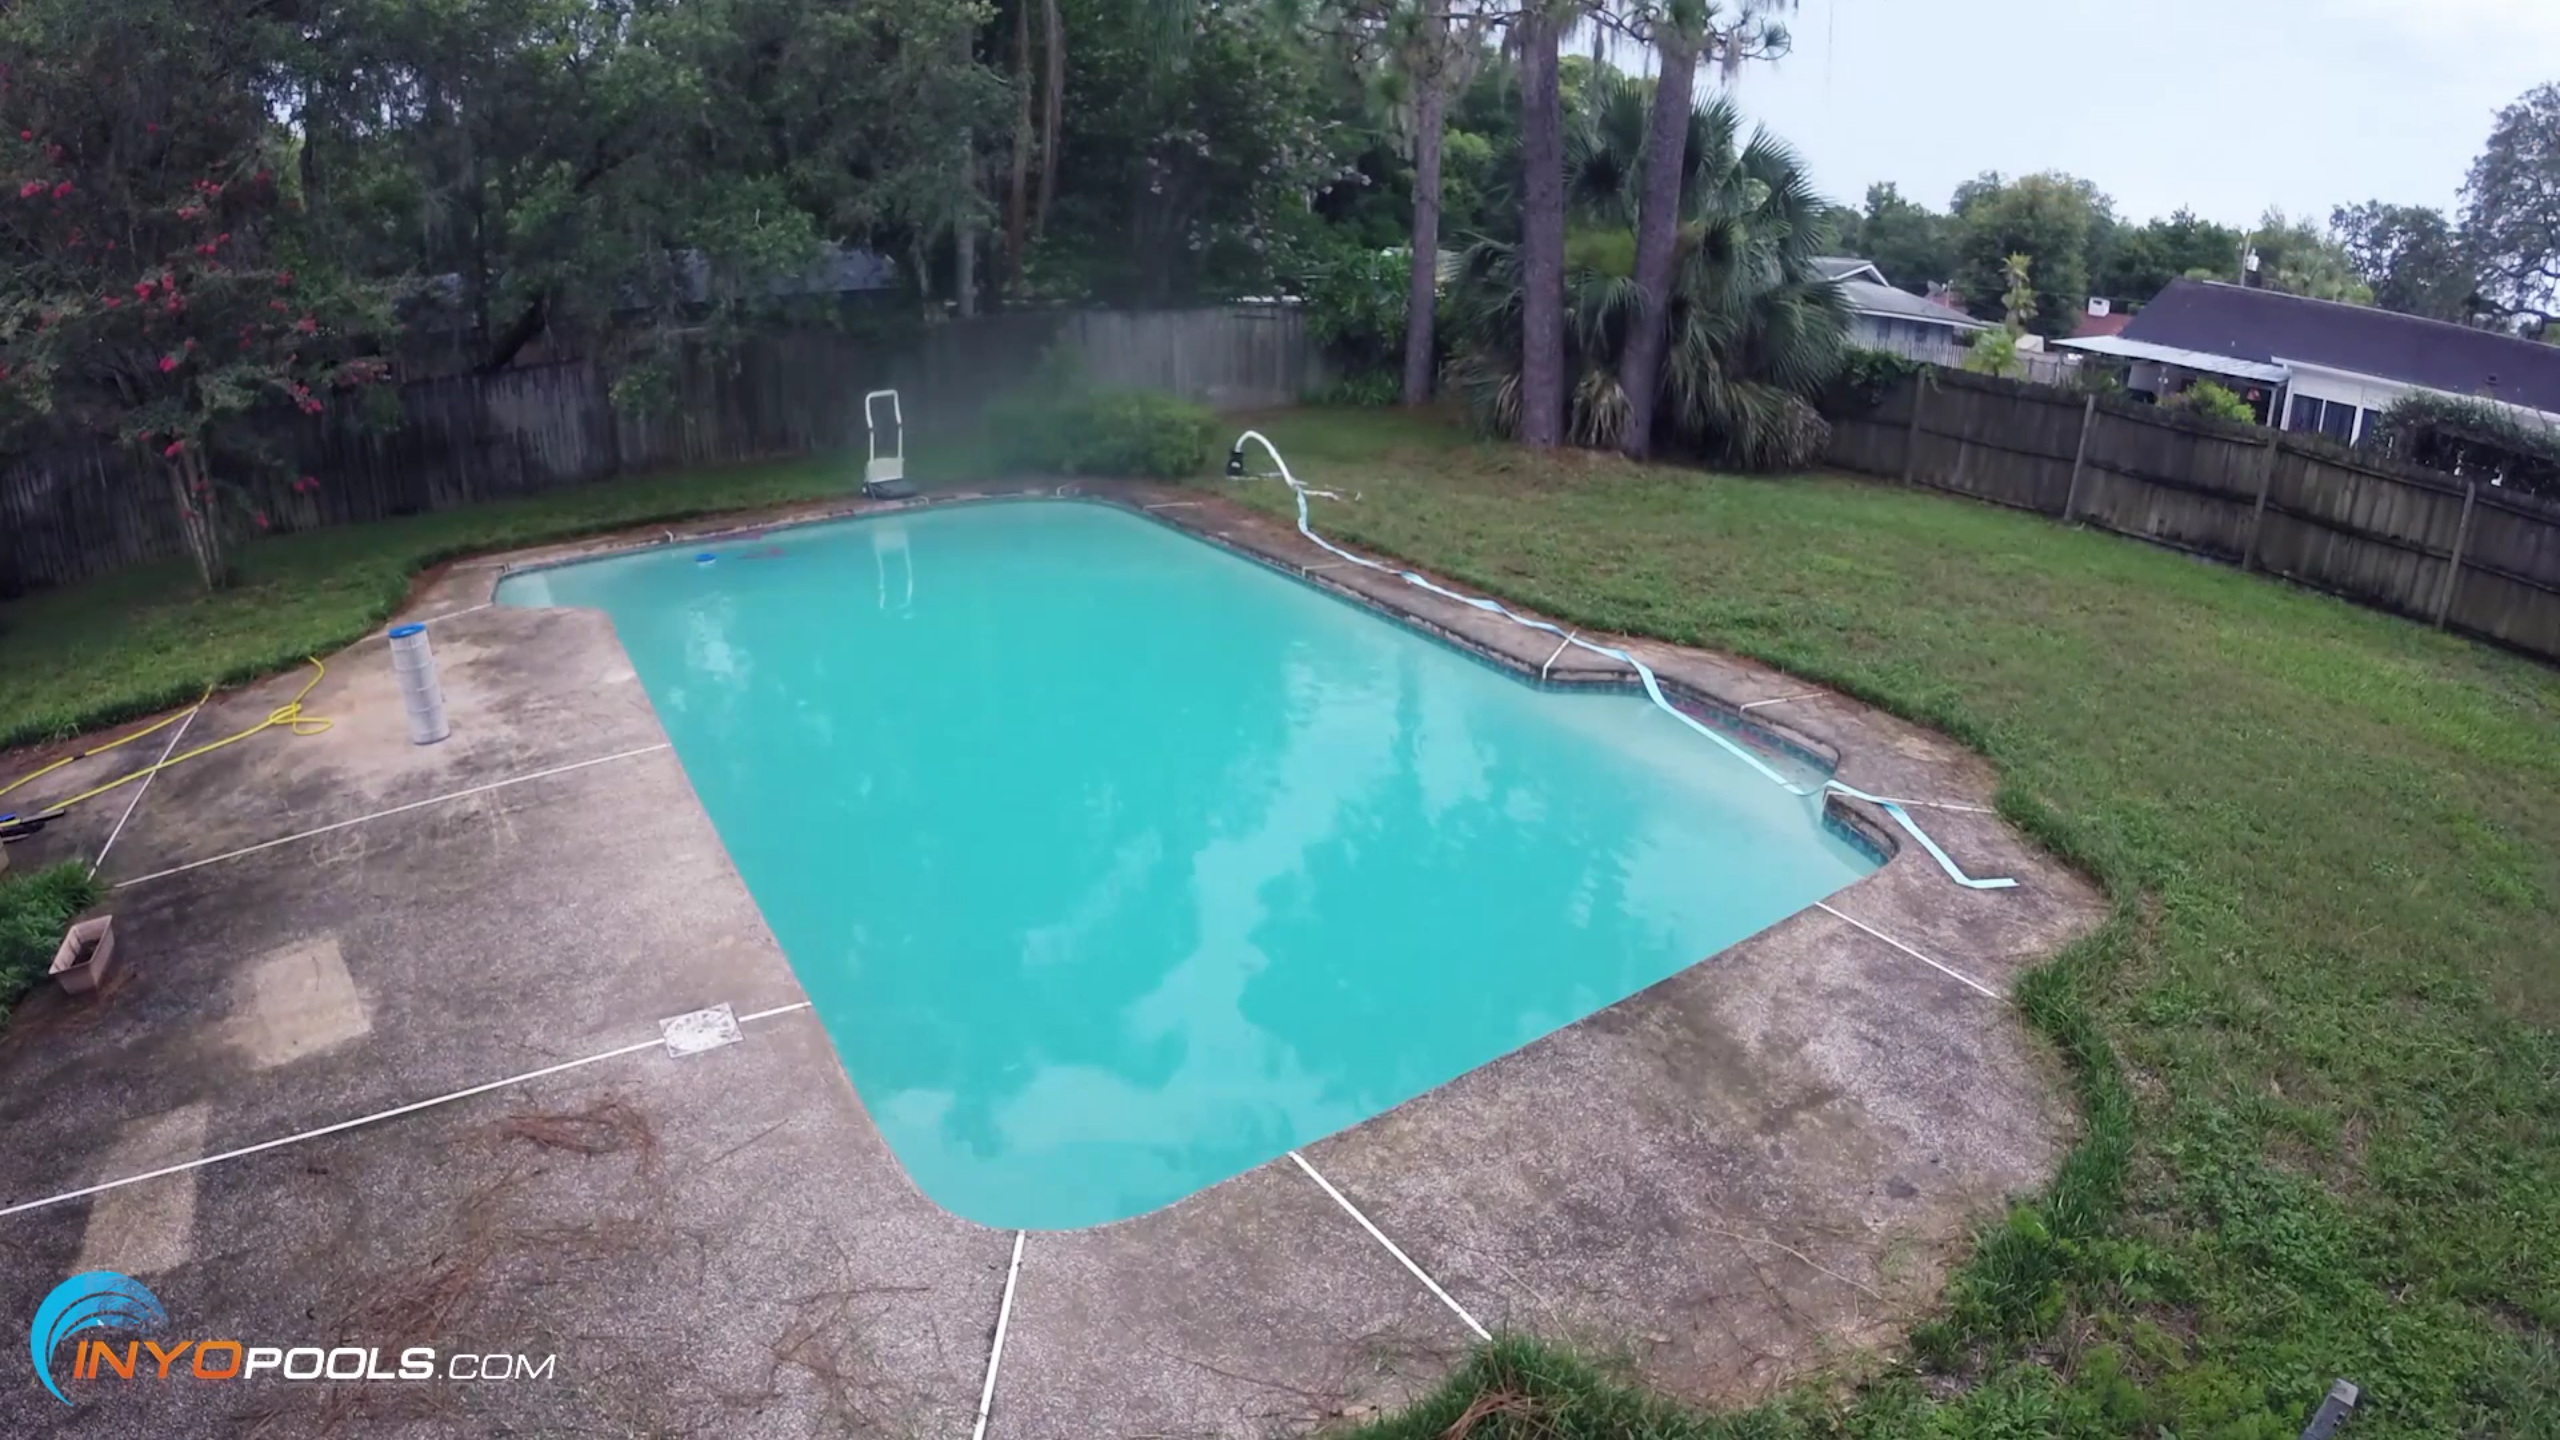
- During this process, we saw the pool turn from green to cloudy. The pool will be green when you have live algae in the pool and when you kill the algae, the dead algae will turn the pool from green to cloudy or milky and then to crystal clear.
- Continue to maintain your pool at shock level until your pool is crystal clear.
Step 7 – Remove Dead Algae (Don’t Forget to Brush – Vacuum – Clean Filter)

Every day during the SLAM process you will want to brush the sides of the pool and as much of the floor as possible. This will help dislodge any algae clinging to the sides of the pool. When you are killing your algae, the dead algae will drop to the bottom of the pool so it is important to vacuum up the dead algae daily. If you are manually vacuuming the dead algae then this will be collected in your pool filter so you will be cleaning your filter daily. Also remember to run your pump and filter 24/7 during this process.
Note: The process of clearing the dead algae can take from a few hours to a week depending on how much dead algae need to be cleared.
Step 8 – Overnight Chlorine Loss Test (OCLT)
Once your dead algae are removed and your water is crystal clear you will want to do the Overnight Chlorine Loss Test (OCLT). This test lets you know if there are any algae left in your pool. As we have discussed before, there are only two items that will consume your chlorine namely organics (i.e. algae) and sunlight. The OCLT requires that you test your water at night and in the morning before the sun comes up. This allows you to rule out sunlight as the culprit for consuming your chlorine. If you are losing Free Chlorine (FC) when there is no sun on the pool then we know this loss is due to algae and you need to continue to shock your pool until all of your algae are killed. You know you are done with the SLAM process when you pass the Overnight Chlorine Loss Test (OCLT). The OCLT is performed as follows:
- Take your Free Chlorine reading in the evening after the sun has gone down and record your Free Chlorine reading.
- In the morning before the sun comes up, test your Free Chlorine level again. If your Free Chlorine (FC) has stayed the same or dropped by less than one and your combined chlorine is less than 0.5 then there are no organic contaminants in your water and you have passed the OCLT.
- If your Free Chlorine (FC) has dropped by more than one or your CCs are above 0.5 then continue to maintain your pool at Shock Level and perform OCLT the next night.
Note: If you have a salt chlorinator make sure to turn it off during OCLT.
You Are Finished Slamming When:
- Your Combined Chlorines (CC) are 0.5 or lower
- You pass the Overnight Chlorine Loss Test
- Your pool is crystal clear
Step 9 – Let Chlorine Return to Target Level
After passing the OCLT then let your Free Chlorine (FC) levels return to your target level as listed on this Chlorine Chart. Now that you have no algae in the pool, you can maintain much lower levels of chlorine than the levels reached during the shock period. After the shock period, you can maintain your chlorine levels through slow dissolving chlorine tablets, liquid chlorine or a salt chlorine generator.
Maintenance After Getting Rid of Algae
You can now breathe a sigh of relief as your algae are gone and your pool is looking great! By following a few simple steps you can make sure the algae will not return. First and foremost, make sure you stay consistent about testing your pool water. We suggest daily testing, but we realize that may not be realistic for most pool owners so if you can do weekly testing you should be in good shape.
If you can keep the following three items in the acceptable range then you should be all set. The three most important items will be your Free Chlorine (FC), CYA and pH. We also suggest brushing and vacuuming once per week.
Hacks
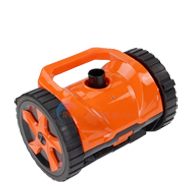
With every pool, there are always unique situations that you will run into that cause you to adapt. With our pool, we ran into the following issues. First, our skimmer line got clogged so we could not manually vacuum the pool. This meant that we opted for a robotic pool cleaner to help vacuum the pool. With a robotic cleaner, the debris is collected in cartridges or a bag in the cleaner and not back at the pool filter. We also used an item called a leaf eater which is a device that attaches to the end of your telescopic pole. You then attach a garden hose to the leaf eater. The leaf eater is pushed around the bottom of your pool where leaves and debris are collected in the bag on top of the leaf eater. I like the leaf eater as it works independently from your pool pump. It is solely powered by a garden hose and is really good for large debris.
Our pool filter was very undersized to deal with all of the dead algae so we upgraded the pool filter from a 100 Sq. Ft. filter to a 500 Sq. Ft. filter meaning the new filter had five times the filtering capacity. The pool we worked on had not been functioning in four years so when we went to turn the pump on it was a no go. The motor was dead so we had to replace the motor and shaft seal. This pool had a really bad problem with debris as it was overhung by two huge pines that were constantly dropping pine needles into the pool and there was also a section of the lawn that when it rained would drain dirt into the pool. For the future, we suggested a few options to the homeowner. First that they add a screen enclosure, cut down the pines or purchase a leaf net. It would also be a good idea to fix the drainage to drain away from the pool.
Review
Finally on a pool as bad as the one we worked on it may have been quicker and more cost-effective to drain the pool completely, acid wash the pool and then refill. In the future, we plan on tackling another neglected pool and take the draining approach. We will report back on which process was more cost-effective and quicker. However, for the 99% of pools, the SLAM method is definitely the best approach.
If you are dealing with a green pool, we would love to help. Just post your pool water test results in the comments section below and we can help you to bring your pool to crystal clear in no time at all.
Since the day we posted this article/video many of our followers have asked if it is better and less expensive to drain and clean your pool compared to treating a Green pool with chemicals. We have a New Updated Article and Video on How to Drain and Clean your Pool, our general consensus is that if you cant see the bottom of the deep end of the pool then it is best to Drain and Clean your Pool as this will be quicker and less expensive then treating the pool with chemicals. If you can still see the bottom of the deep end then proceed with this guide on How to Clean a Green Pool with Chemicals


I have an above ground pool 8.5 by 5.5 foot. I had some green and cloudiness. We bought a floater and put a tablet in it. How long before we will see a difference and can test and swum?
I suggest re-reading the article or reviewing the video because every question you just asked is in the article. Plus, one puck in one floater is not going to be enough to clear up everything.
I been having issues with my new pool turning green. I will get it then a few weeks later it will be green again. This time it’s like a pond lol. But after watching your video it really help me to understand how to shock my pool and keep it in shock mode til I stop losing my chlorine at nite. I been having headaches all summer so far thinking I should of never got a pool but this video really helped. Thanks a million!!!
Help I was taking care of my daughter’s pool while they were on vacation and didn’t run filter first 3 days because it had been raining and now it is green, they come home sunday, what should I do to get it somewhat clear for them
Our pool is turning blue now but we have a lot of algae stain on the pool floor. We brushed but the stains stay. Any suggestions? Thanks in advance.
Try double or triple dosing the water with pool shock, then continue the brush. The overdose of pool shock will kill any organic material in the pool, the brush is there to loosen it from the surface.
Hi Matthew.
I have an outdoor residential in ground 15,500 gallon pool.
Today using my Taylor Technologies 2006 test kit
8.2 ppm free chlorine
.4 ppm combined chlorine
pH 7.4
100 alkalinity
Calcium Hardness 150 and 170, tested 2 times
50 ppm cyanuric acid
A week ago the outdoor pool with oak trees and pine trees hanging over it was green. I removed all the debris. I put in 4 gallons of 10% liquid chlorine. The next day I used Biodex Swimming Pool Phosphate Remover. The chlorine was 1.0 so I put in 2 more gallons of liquid chlorine. Each day I brushed the sides, had my pool running 24/7, and the manual pool sweep on.
Then I found INYO Pools.com and the SLAM technique.
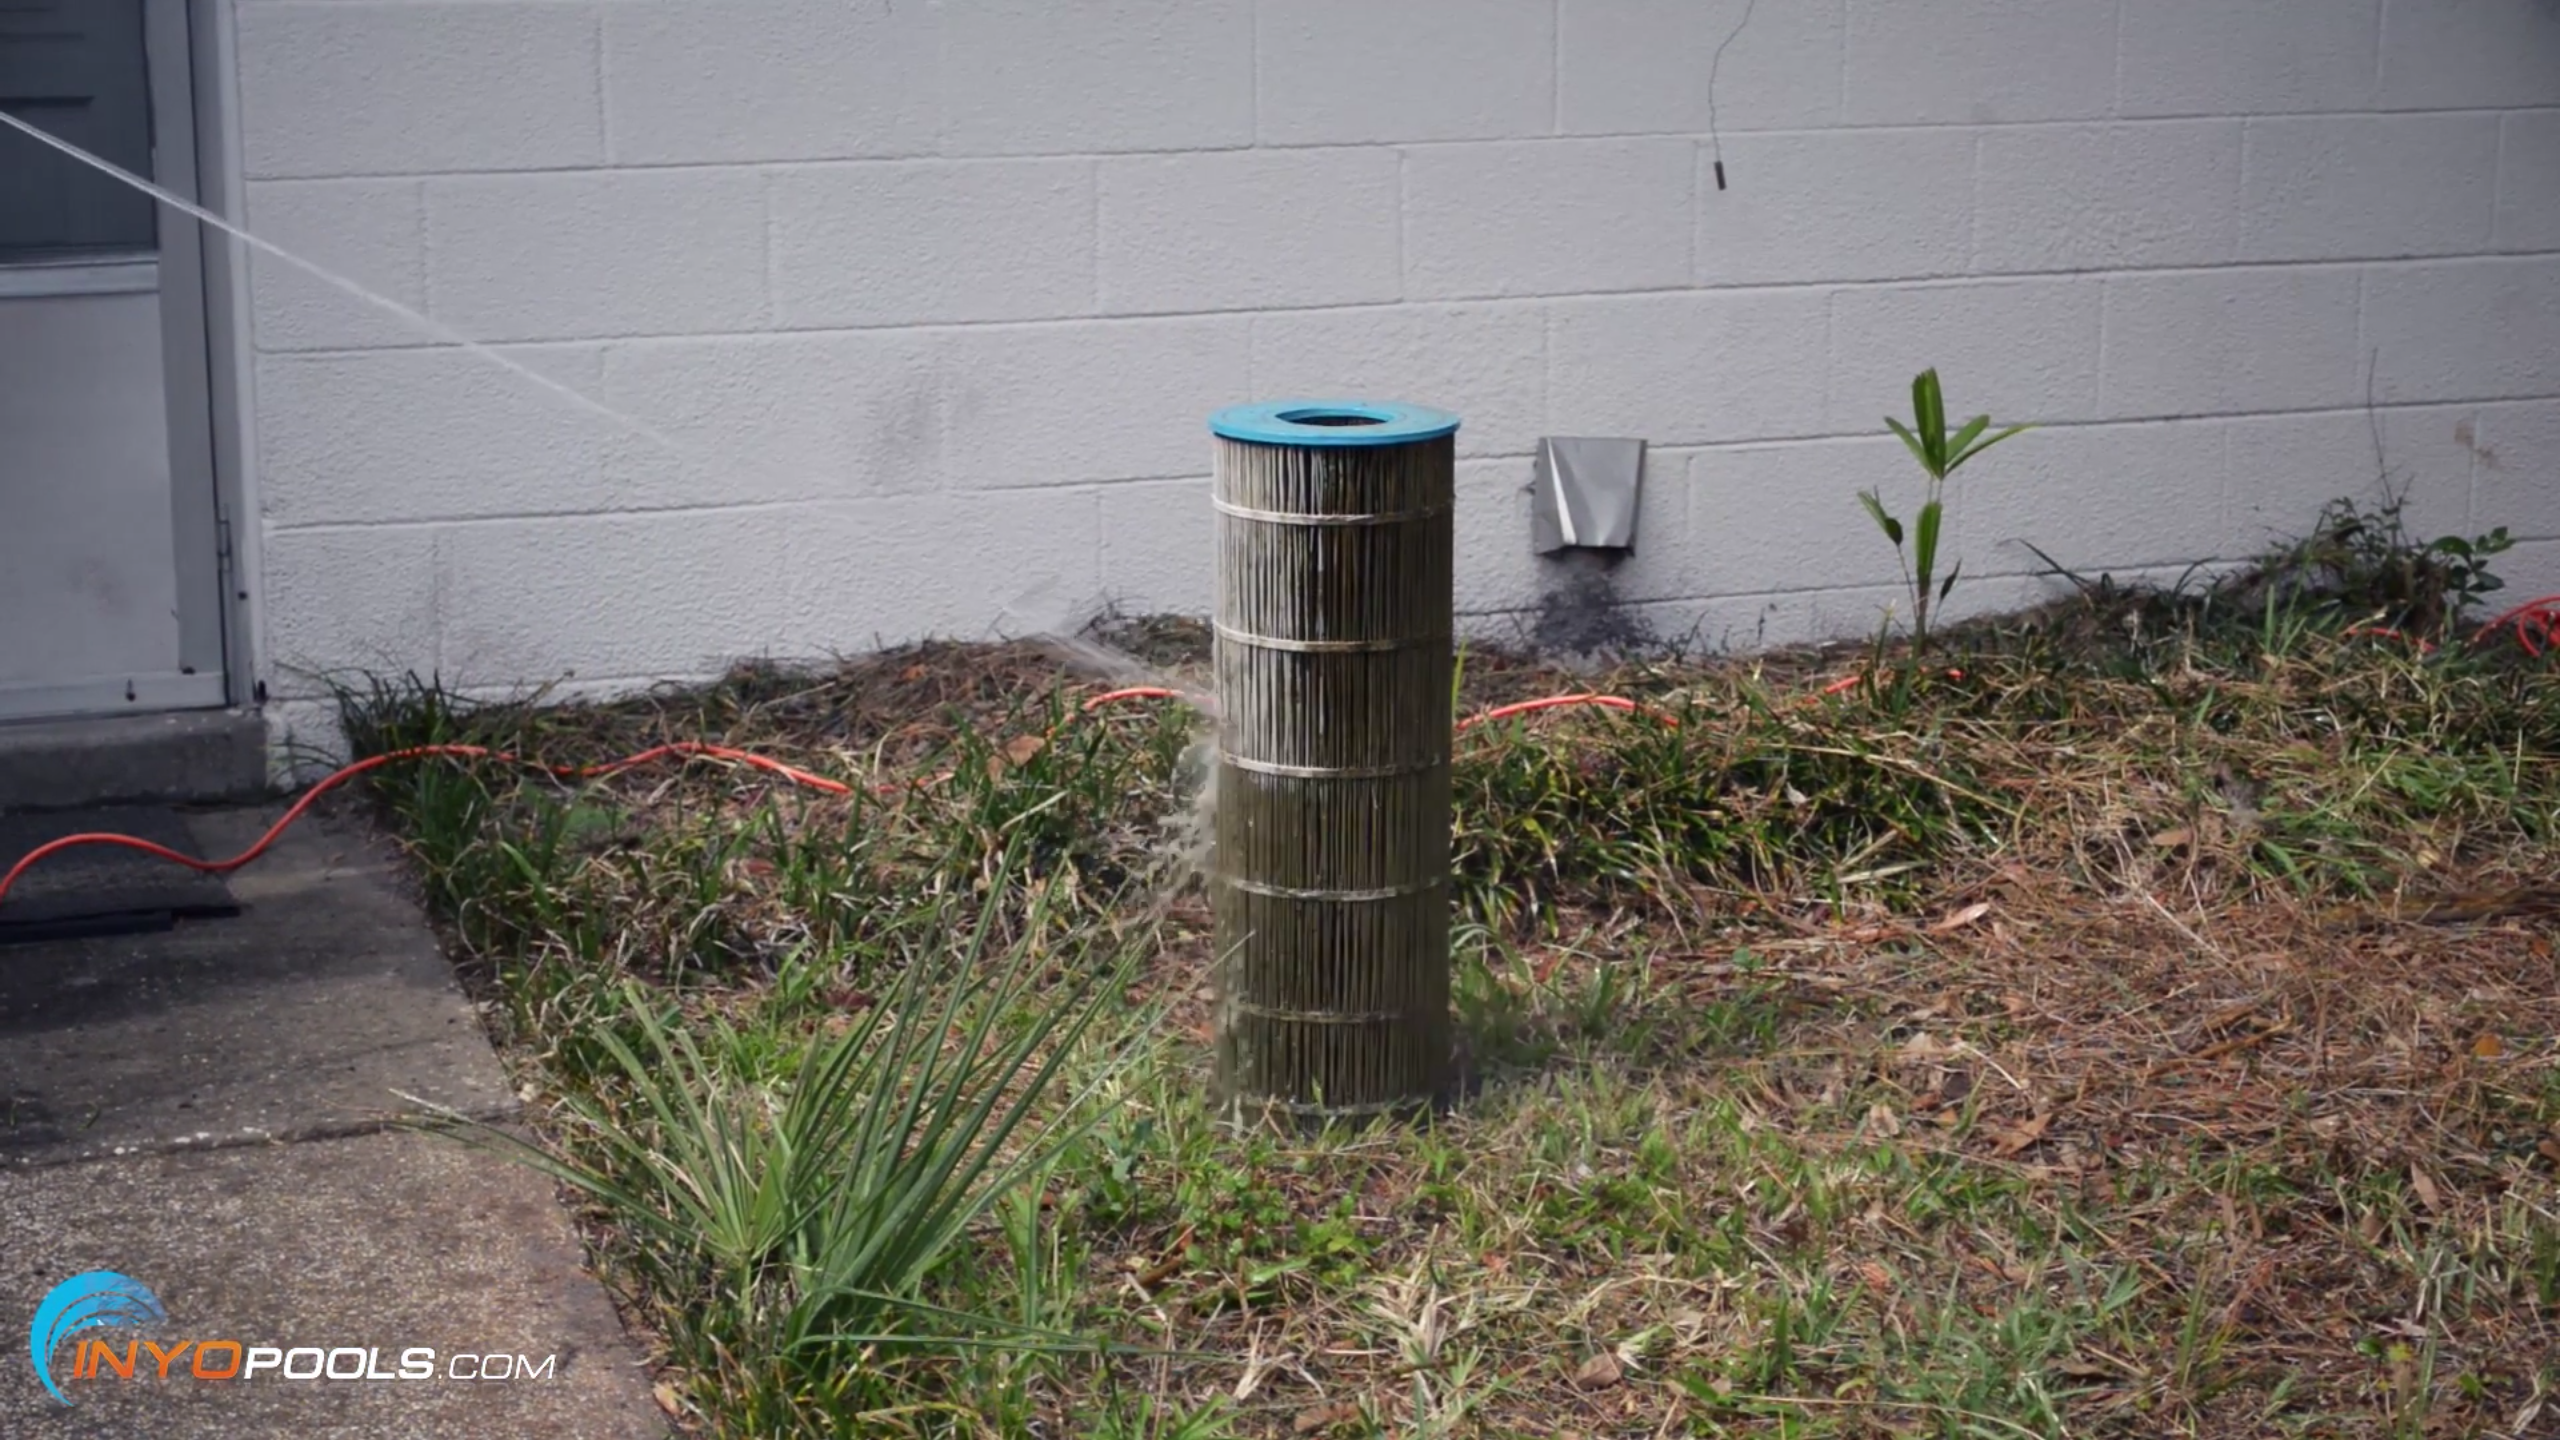
Yesterday I cleaned the large pool filters. There are four in the canister. They were green with algae. I sprayed them with water for three hours to get as much algae off but inside the folds I could see green algae. It seemed an impossible task. I hard sprayed the filters with water until the water ran clear and put the system back together.
There is still green on the bottom and on the sides of the pool after I brush that I cannot remove like it is a green stain. The water is clear.
Question: Should I use the SLAM technique?
This video, explanation, and resources are amazing.
Thank You.
Yes, the SLAM technique can be used in almost any application; but for super entrenched stains I suggest either a chlorine or acid wash. This will require you to drain your pool though, so it is a last resort
Can u swim in the pool while going through the slamming process? Is it safe to do so?
It is not safe to swim while you are shocking your pool.
Just opened my pool to green water and these values
Ammonia 4+
Free chlorine .37
TC 1.61
Combined chlorine 1.24
Ph 7.6
Total alkalinity 134
Calcium 225
Cyanuric acid 0
Phosphates 3719
It is chlorine 18×36 inground pool with zeolite medium, how do you recommend getting balanced.
Add stabilizer and shock. To lower the alkalinity use sodium bisulfate.
Updated- Will you help me figure out how to SLAM my pool correctly? I have done the testing with the
TF100 Kit. Should I brush the pool and clean the filter everyday until it is clear again? I am using the poolmath app. How often should I test the Chlorine level and is the CYA level too low for SLAMing? Thanks
FC – 12
CH -50PPM
TA -80
CYA – 30
Maintain your shock levels until the water is clear or hazy clear. The haziness is just dead algae remnants. I would test your chlorine at least once a day to make sure your water is maintaining is chlorine levels. Your CYA levels are fine.
Can you help me SLAM my pool?
FC – 0
CC -0
Calcium Hardness – 50ppm
TA – 80
CYA – 30
We were thinking of buying a fixer upper for our 1st home. The pool has been neglected for years and looks just like your pool. It has an enclosure ,albeit holes in the screen, so I’m hoping there won’t be as much debris. How much does a service like this cost? Since its a fixer upper we will have a lot of other projects and to have even a cost range would really help me make the best decision. Thanks in advance
Hi INTO POOLS team. I would like to say thanks for your advises as they work very very perfect.
Keep on doing a good job.
The target levels for free chlorine shown on your chart are much higher than other sources suggest. For example, All Clear lists a level of 1-1.5 as ideal, and Taylor Technologies lists 2 to 4 as ideal. What am I missing?
We’re using the SLAM (Shock, Level, And Maintain) method, make popular by Trouble Free Pool. There are lots of different ways to maintain a pool, choose the one that works best for you.
I had my pool water tested and the only thing that was off was the chlorine. The levels were a little high but other than that everything else came back in range. I’ve been shocking the pool, vacuuming the pool and changed out the filter cartridge but the water is still green and cloudy. Ideas?
Like we covered in the video, you just have to keep repeating the process. It is still green because you haven’t killed all the algae yet, i.e. don’t have enough chlorine in the pool. And the cloudiness could be dead algae remnants.
Hey Matt – I have a Hayward ProGrid D.E. 4820 filter system. The SLAM says I should clean the filter daily. Does that mean I should be Backwashing, cleaning and re-charging the DE everyday? Thanks for all the help!
Backwash when necessary. if you see a significant drop in water flow, and your filter PSI rises 20-25 percent above its “clean” mark then it is time to backwash. But if you are doing an algae kill treatment, you may have to backwash a few times a day.
Our pool had a terrible algae bloom a couple of weeks ago, almost out of nowhere. I watched the video and tried the SLAM method, worked perfectly. I combined the instructions with other info I found online about the different types of shock. I started the afternoon of July 1st; and by July 2nd late afternoon the pool was already turning from green to blue/green. By July 5th the pool was clear of algae and ready for swimming. Thanks so much for your tips and videos!
One thing I kept expecting to see but never appeared was algaecide. Our local shop — 70+ years in the business and extremely successful — includes algaecide in both their closing and opening kits. We’ve had our pool for more than ten years now and have always used these kits. And we’ve never had any problems with algae. So I am curious as to why it was totally omitted from your process.
We used the SLAM method for cleaning up this pool. That method focuses on chlorine being the main factor for killing the bloom. An algaecide is a helpful tool if you choose to use it, but it is not a must. Plus it can add extra work on the backend of clean up because it can cause foaming and raise metal levels in your water
Fci is 3, brim is 6, to is 5, alk 180, ph 7.2, th 250,, cya 100. Water cloudy, what chemicals to use?
I suggest using some clarifier to clear up the cloudiness. But the rating you posted are a little confusing, can you confirm some of them?
BRM (brim) is for Bromine. But it also shows you have chlorine. Which are you using? Is to suppose to say TC for total chlorine?
What if the walls of the pool are saturated with algae. Is it necessary to drain the pool. Our pool look the same as the pool in the video. Time to evict the algae creature.
If the pool walls are riddled with algae, you will need to brush them thoroughly as well as the chlorine treatment
Thanks for the vid helped me
The solution appears to be like cogent and intriguing. Terrific Luck! I’ll be sitting down down inside accurately…
vsfsfs44546.com
Excellent. I’m just learning about pool chemistry for our above ground pool. If only we could get the TF-100 test kit in Europe!
It must have been satisfying to turn that green swamp into a clear pool again, rather than simply draining and refilling.
Oh, it was. It was like reeling in a big fish, it was fighting us but we eventually got it.
Wow! So much more than the local professionals told us! We were wondering if we had made a big mistake with a pool in Montana. You’re videos and resources are excellent. We will be purchasing products from you. Thanks for the great website!
Thank you for watching and reading!
Great read! Cleaning a green pool will take time and hard work but it’s definitely something you can do with the right tools and knowledge. Hiring a professional is always an option but if you want to do it yourself this post gives you all the steps you need in order to get a clean pool. Make sure to keep monitoring your pH levels as they can change often throughout the process.
Just to say what a fantastic site INYO is, I am half way through a pool build in France, so much of your advice relevant, thank you, Ron
Thank you, and bonne chance.
Wow! Thanks a lot guys, very instructive video.
This is an excellent video and training on what to do when your pool gets out of control!
Thanks, Jon!
Another trick that I learned from some very innovative person.
You can use PVC with threaded ends, diesel filters and hose clamps to make very inexpensive supplemental filters that you screw into the return jets in the pool. These filters help to capture very small particles, like dirt/sand/dead algae, that might just recirculate through your pool cartridges, especially when vacuuming. The filters help to clean up a very dirty pool very quickly.
The supplemental filters can be easily cleaned by unscrewing the assembly, removing the filter, which is secured by a hose clamp, turning the filter wrong-side-out and cleaning them with a water hose and even bleach if needed.
Overall, each filter assembly probably cost less then $10. And they really help keep the pool clean.
I don’t put a filter on one of the jets, that way it doesn’t restrict water flow too much. The other 3 jets on my pool have the filter assemblies screwed in. The filters usually come with a plastic rim around the top, which you should but off before attaching them to PVC fittings with a hose clamp. Stainless steel clamps are recommended, since they shouldn’t rust.
You can probably find more info on this by googling or looking on youtube. I can’t recall the web site where I learned about it. I have been using them for a couple of years now.
Good luck and sparkling pool!!!