$53.30
Part # GOKIT81
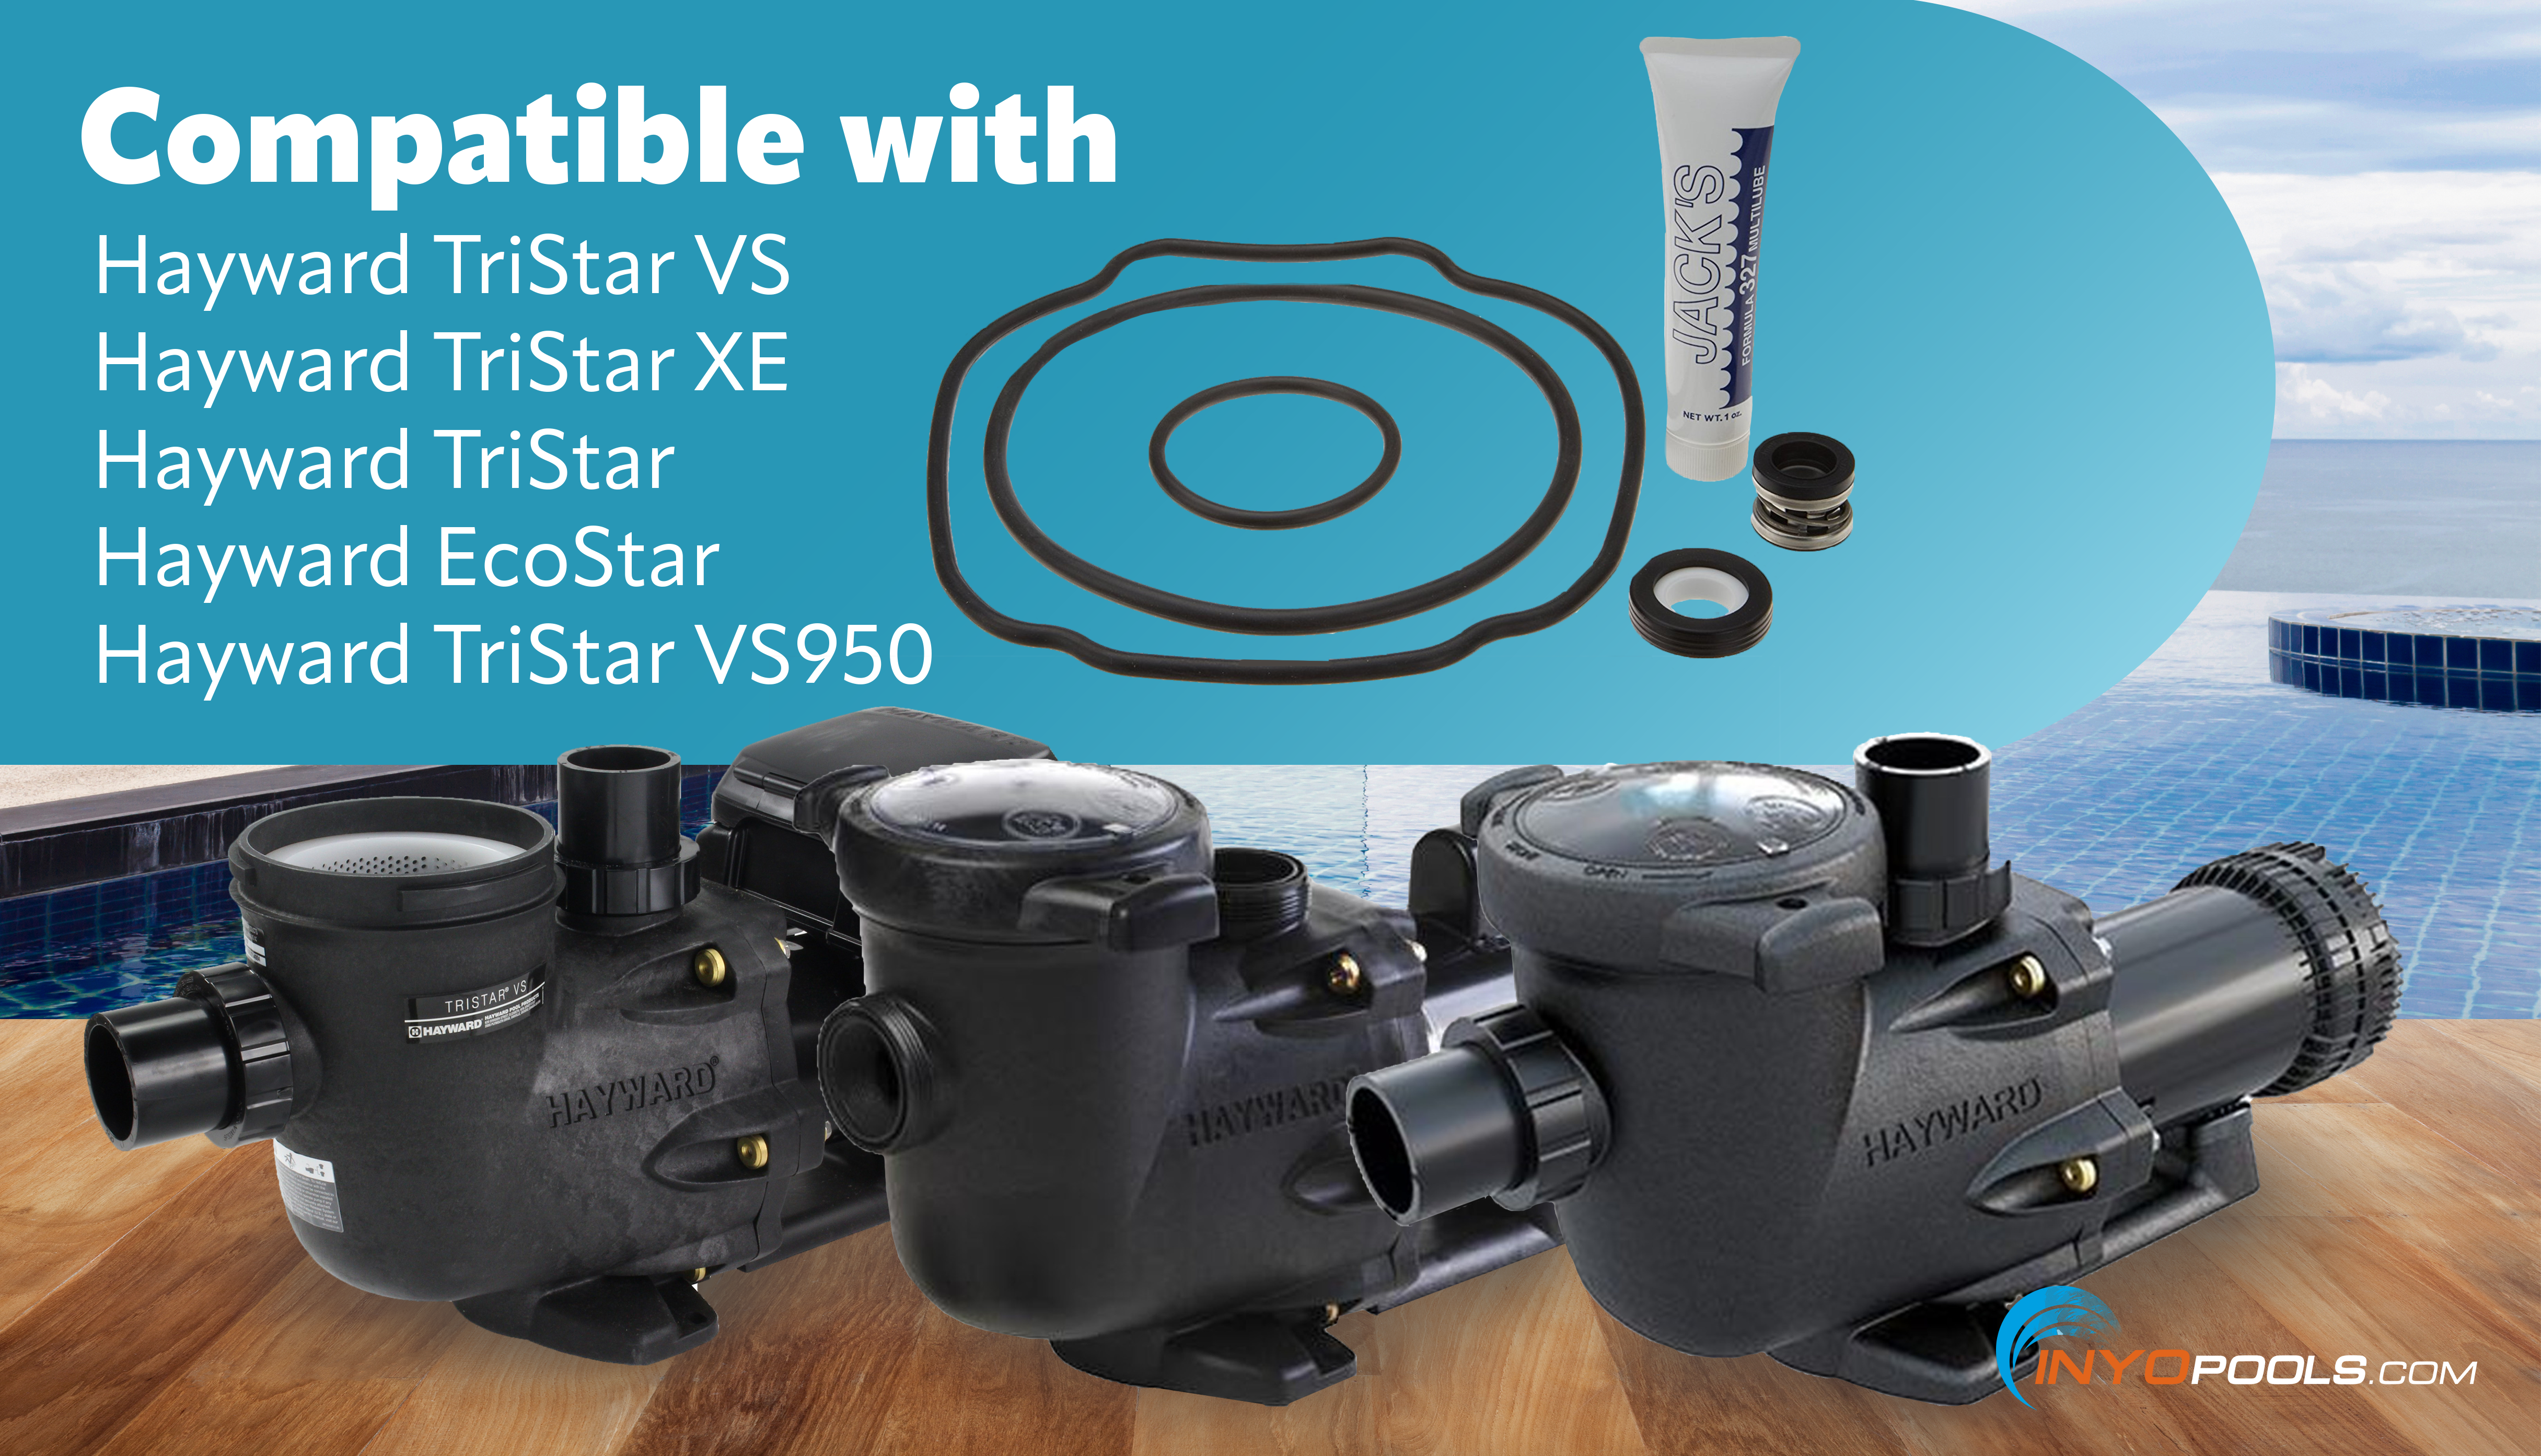
Standard tune up kit for the Hayward Tristar/EcoStar Pump includes the shaft seal and all o-rings, gaskets, and lubricant.
We highly recommend replacing the shaft seal, o-rings and gaskets when replacing your motor. If you use your old shaft seal, it will not mate up properly with the new motor and may leak.
This Tune Up Kit Works on These Pumps:
Tune Up Kit Includes:
Would this work on a Power flow LX Pump -SP1580Z2 pool pump.
Serial number:28512CH
Reply
Is this seal kit good to use for the century centurion B854 motor
Reply
If you have the model Hayward Tristar or Ecostar then yes this kit is correct but you cannot use just the motor information to cross reference those seals.
Reply
Have a Tristar SP3210X152 that is about a year old and was working great until recently it seems to not have as much suction or pressure going out?It did run without water for about 10min,would an air or internal water leak cause this?Would the seal kit fix the problem?
Thanks
Steve
Reply
Hi, Steve. The pump running dry could be caused by a number of things including a suction leak which can be caused by bad o-rings within the pump. You can start by replacing the seals.
Reply
2 to 4 hrs
Screwdriver, Socket Set, Wrench Set
I have done this job before but not often enough to be adept at it. Following the video instruction ensures parts are removed and then reassembled in the correct order. Not a particularly difficult job, just be sure seals are installed in the proper direction, be sure the final bolts are tightened well to prevent leakage
1 to 2 hrs
Screwdriver, Nut Drivers, Pliers, Electrical multimeter
0 2
Long story short, the house we bought had a noisy bearing. I mean LOUD. Our neighbors complained. Overwinter, it seized. Upon recognizing the equipment failure, I ordered these parts intending to replace the bearing and seals, but instead procrastinated and lost these when the time came. Ordering more, will review when complete 👍🏻
Less than 1 hr
Screwdriver, Socket Set, Wrench Set
I bought this tuneup kit to replace the old shaft seals and gaskets. After disassembling the old motor, all the seals and gaskets that needed replacing are fairly obvious, especially with the video from INYOPools.com. They fit perfectly.
Less than 1 hr
None
1 0
Less than 1 hr
Screwdriver, Socket Set, Strap Wrench
1 0
While the pump motor needed new bearings, the pump itself was 8 years old and deserved a new tune up kit.
1.) Turn off the power at breaker
2.) Remove back cover of pump
3.) Test wires for voltage with multimeter and remove from screw terminals
4.) Disconnect plumbing unions from pump and move pump assembly to bench
5.) Remove pump cover with socket & ratchet
6.) Remove impeller cover with screwdriver
7.) Remove left-handed retention screw from impeller
8.) Use strap wrench to remove impeller (was stuck beyond hand-tight)
9.) Remove seal plate and pump seal
10.) Clean all surfaces and replace seal into plate
11.) Add outer spring seal, impeller, impeller bolt, and diffuser plate
12.) Remove old diffuser o-ring and replace with new one from kit
13.) Remove and replace old pump housing seal
14.) Reassemble remaining parts in reverse order.
15.) Place pump back into service by reconnecting plumbing, then electrical
16.) Prime pump, turn on power at breaker and test.
1 to 2 hrs
Screwdriver, Socket Set
1 0
After finding a perfect match for my waterfall pump I noticed a tune-up gasket kist was also available for it so I purchased it as well. It was for a Pentair pump and I was replacing a hayward pump.
There were a couple of extra gaskets that I did not need but the other four were perfect fits for the existing gaskets from my bad pump. After replacing everything and putting it back together everything now works like new.
Less than 1 hr
Pliers, most of the seals are replaced by hand.
1 0
Follow the instructions to replace your pump (each one is different, so follow the instructions for your model).
The seals are an easy replacement - it's a one for one exchange. HOWEVER, do not throw away your old pieces until the completion of the project. Also, take photos at each stage of replacement - some items are turned certain ways and having the photo reference makes for quick and efficient work.


The Most Helpful Review
1 0
(5 out of 5 stars)
Reviewed By: Inyo Customer ()
Had everything I needed to install the new motor
Was this review helpful to you?
The Most Recent Reviews
(5 out of 5 stars) Great Seal Kit
Reviewed By: Inyo Customer ()
Gaskets are slick and thick with no imperfections. They fit perfectly. I like having the extra tube of silicone. The seal is well-packaged and flawless. Everything is as expected.
Was this review helpful to you?
(4 out of 5 stars)
Reviewed By: Inyo Customer ()
Everything fit. Maybe could use a small instruction card included for novice pool DIY
Was this review helpful to you?
(5 out of 5 stars) How to do it right!
Reviewed By: Inyo Customer ()
Kit came complete, works as intended!! Thank you! Always wise to do the routine maintenance while you’re doing a major repair too! Don’t forget the gaskets and seals!
Was this review helpful to you?
(4 out of 5 stars)
Reviewed By: Inyo Customer ()
This is a great tuneup kit for your Hayward Ecostar SP3400VSP if you need it.
Was this review helpful to you?
1 0
(5 out of 5 stars) Exceptional Customer Support
Reviewed By: Inyo Customer ()
Definitely needed these for the install of my new pump, came recommended by the good folks at INYOPOOLS - they made sure I was able to get the job done right.
Was this review helpful to you?
(5 out of 5 stars)
Reviewed By: Inyo Customer ()
The best product!!! Thanks
Was this review helpful to you?
1 0
(4 out of 5 stars) Great fit.
Reviewed By: Inyo Customer ()
Great fit. It came with a couple of extra gaskets that I don't see in this picture. I did not find them in my original pump but it made me feel slightly uneasy. In the end all is fine as everything is working perfectly. Very quiet and no leaks.
Was this review helpful to you?