How To Wire a Hayward AquaRite on 230V

WRITTEN BY: 

  4.67 out of 5 stars on 3 ratings
(Click on a star to add your rating)

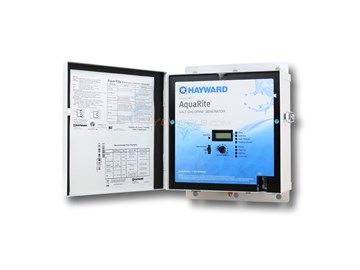
This guide provides a step-by-step procedure for wiring a Hayward Aqua Rite on 230V. Note: This guide is intended to give you a visual reference to supplement the Hayward owner's manual, not replace it. Make sure you read and understand your owner's manual before installing your unit.

Video

Step by Step

Top

Step 1

TURN OFF POWER at the breaker.

Step 2

Open the Aqua Rite control box and remove the two screws that secure the blue cover panel.

Step 3

Remove the blue cover panel.

Step 4

Remove one of the knockouts located near the wiring connections of the Aqua Rite control box.

Step 5

Thread a 1/2" mpt terminal adapter into the knockout of the control box.

Step 6

Feed the cables through the terminal adapter and into the Aqua Rite control box. There should be two hot lines (black & red) and a ground line (green).

Step 7

Connect the black (hot) line to terminal 1 and tighten the screw.

Step 8

Connect the red (hot) line to terminal 4 and tighten the screw.

Step 9

Connect the green (ground) line to the green screw and tighten it.

Step 10

Move the blue panel back into place and tighten screws.

Step 11

The last step will involve bonding the AquaRite box. Using an 8AWG conductor, connect the grounding lug on the underside of the AquaRite to an appropriate earth contact. Failure to adequately bond your power unit can lead to severe electrical shocks. For more information about bonding, check out our guide titled "How to Add a Line to the Pool Bonding Wire".

Step 12

Turn power back on at the breaker. Your AquaRite should now power up on 230v.

Comments

Top

Be the first to add a comment