How to Wire Pool & Spa Lights to the Hayward Pro Logic

WRITTEN BY: 

  0 out of 5 stars on 0 ratings
(Click on a star to add your rating)

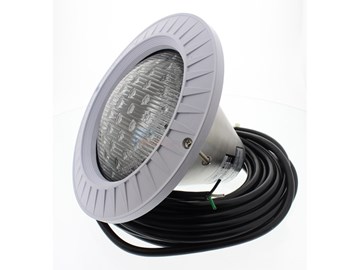
This guide will explain a how to wire a pool or spa light to the Hayward Pro Logic. A ground fault circuit breaker must be used to supply power to the lights.

*Low voltage lights will require an external transformer. 

If you're not experienced working with electricity, we strongly recommend contacting an electrician.

Step by Step

Top

Step 1

Turn off the power to the Pro Logic at the main breaker.

Step 2

Open the door to the Pro Logic box.

Step 3

Remove the three blue screws that secure the cover plate.

Step 4

Remove the cover plate.

Step 5

Determine the relay and breaker you'll be using. A light will use the Lights relay. 

The breaker we used was a 20 amp single pole GFCI Square D HOM series breaker. Check the Hayward Pro Logic manual for a full list of acceptable breakers.

Step 6

Using black wire, connect one end to the top terminal (Load Power) of the single pole GFCI breaker and the opposite end to the first Line In spot on the Lights relay.

Note - We used 14 gauge wire.

Step 7

Steps 8-12 will cover connecting the light wires to the Pro Logic relay. A light requires three wires; one hot wire, one neutral wire and the ground wire. In this case it will be black, white and green wires respectively.

Step 8

Feed the wires from the light into the Pro Logic control box.

Step 9

Connect the black wire to the first Load Out spot on the Lights relay.

Step 10

Connect the white wire to the bottom (Load Neutral) terminal of the GFCI breaker.

Step 11

The wire that we’ll use for the ground is green. Connect the green line to one of the grounding lugs on the grounding bar.

Step 12

The light is now completely wired to the Pro Logic control.

Step 13

Place the cover plate back on the Pro Logic box and tighten the three screws.

Comments

Top

Be the first to add a comment